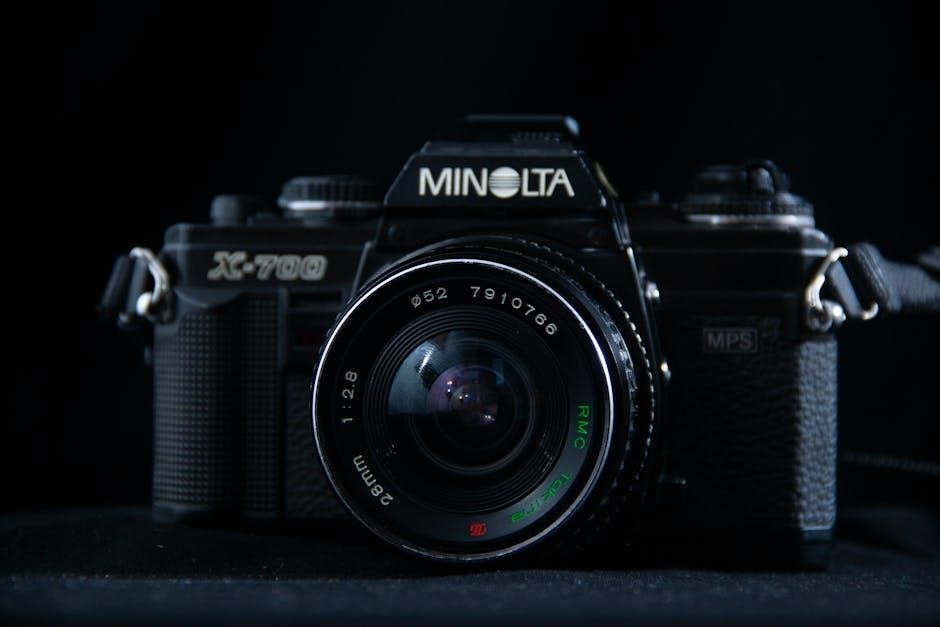
The Minolta X-370 is a user-friendly, microcomputerized single-lens-reflex (SLR) camera, celebrated for its quartz-controlled mechanical sequences and precise shutter speed operation.
This camera offers creative control through its match-LED and full-metered manual modes, ensuring accurate exposure with simple aperture and shutter adjustments.
Overview of the Camera
The Minolta X-370, released in 1981, quickly became a favorite among photography enthusiasts due to its blend of affordability and advanced features. It’s a 35mm film SLR designed for both beginners and experienced photographers seeking manual control.
This camera distinguishes itself with a robust electronic shutter and a reliable metering system. The X-370 isn’t fully automatic; it primarily operates in a unique “match-LED” system alongside full-metered manual mode, encouraging users to understand the relationship between aperture and shutter speed.
Its durable build quality and relatively compact size contribute to its enduring appeal. The camera’s design prioritizes functionality, offering a straightforward layout and intuitive controls, making it an excellent learning tool for aspiring photographers. It’s a classic example of 1980s SLR technology.
Key Features and Specifications
The Minolta X-370 boasts a horizontally-traveling focal-plane shutter with speeds ranging from 2 seconds to 1/1000th of a second, plus Bulb mode. It utilizes a TTL (Through-The-Lens) center-weighted metering system, powered by a 4LR44/PX28 battery.
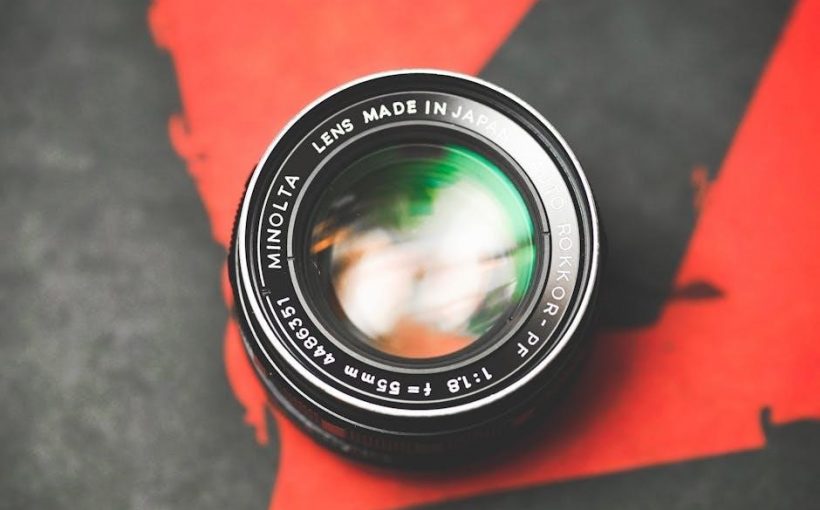
Key features include the aforementioned match-LED system for simplified exposure, and full-metered manual operation for complete control. It accepts standard Minolta MD-mount lenses. The camera supports film speeds from ISO 25 to ISO 3200.
Its viewfinder provides approximately 93% coverage, and includes focusing aids. The X-370’s dimensions are 138.5 x 84.5 x 48mm, with a weight of approximately 595g (without lens). It’s a mechanically robust camera with quartz-controlled accuracy.
Setting Up Your Minolta X-370
Proper setup involves carefully loading 35mm film and inserting a 4LR44/PX28 battery to power the quartz-controlled shutter and metering system effectively.
Loading Film
Begin by opening the camera back using the film release lever. Insert the 35mm film cassette into the film chamber, ensuring it seats correctly. Gently pull the film leader across the camera body and align the perforations with the sprockets on both sides.
Advance the film using the film advance lever until the film leader engages with the take-up spool. Close the camera back securely. Continue advancing the film and using the rewind knob to ensure proper tension and that the film is correctly advancing. The frame counter will automatically indicate the number of exposures taken. Always rewind the film completely before opening the camera back to prevent accidental exposure.
Remember to avoid loading or unloading film in direct sunlight to protect it from unwanted exposure.
Inserting the Battery
The Minolta X-370 utilizes a specific battery type to power its electronic functions, primarily the quartz control system and metering. Locate the battery compartment, typically found on the camera’s bottom. Open the compartment door using a screwdriver, if necessary.
Insert the battery, observing the correct polarity (+ and -) as indicated inside the compartment. Ensure the battery is securely seated and making good contact. Close the battery compartment door tightly. A properly installed battery will activate the camera’s electronic components, allowing for accurate metering and shutter speed control.
Regularly check the battery’s condition, as low battery power can affect the camera’s performance. Replace the battery when necessary to maintain optimal functionality.

Understanding the Exposure System
The X-370’s exposure system relies on a combination of aperture and shutter speed control, alongside its metering modes – Match-LED and full-metered manual – for optimal results.
Aperture and Shutter Speed
Aperture, controlled by the lens, dictates the amount of light reaching the film and influences depth of field – the area in focus; A wider aperture (smaller f-number like f/2.8) allows more light and creates a shallow depth of field, ideal for isolating subjects.
Conversely, a narrower aperture (larger f-number like f/16) lets in less light and increases depth of field, keeping more of the scene sharp. Shutter speed, managed by the camera, determines how long the film is exposed to light.
Faster shutter speeds (e.g., 1/500s) freeze motion, while slower speeds (e.g., 1/30s) allow more light but can introduce blur if the camera or subject moves. Mastering the interplay between aperture and shutter speed is crucial for achieving correctly exposed and creatively compelling photographs with the Minolta X-370.
Metering Modes (Match-LED & Full Metered Manual)
The Minolta X-370 offers two primary metering modes: Match-LED and Full Metered Manual. Match-LED provides a simple, semi-automatic approach. The camera indicates if your chosen aperture and shutter speed combination are correct for proper exposure via LEDs.
Adjust either setting until the LEDs align, signifying a balanced exposure. Full Metered Manual grants complete control. The camera displays a suggested exposure, but you independently set both aperture and shutter speed.
This mode is ideal for creative control and challenging lighting situations. The X-370’s flexibility allows photographers to choose the mode best suited to their skill level and photographic intent, ensuring consistently well-exposed images.

Using the Viewfinder
The Minolta X-370’s viewfinder provides essential information for precise focusing and exposure, displaying indicators crucial for achieving sharp, well-exposed photographs consistently.
Focusing Techniques
Achieving sharp focus with the Minolta X-370 relies on mastering several techniques. The split-image rangefinder in the viewfinder is your primary tool; align the split image for accurate focusing.
Alternatively, utilize the fine-focusing aids – small circles – which become clearer when the subject is in focus. For moving subjects, pre-focus on a point where the action will occur, then smoothly track the subject while gently adjusting the focus ring.
Remember depth of field plays a role; a smaller aperture (higher f-number) increases the area in acceptable focus. Practice these methods to consistently capture tack-sharp images with your X-370, adapting your technique to the specific shooting situation and lens used.
Understanding Viewfinder Indicators
The Minolta X-370’s viewfinder provides crucial information for accurate exposure and focusing. The central spot indicates the metering area, while LEDs on either side display exposure status.
A “+” sign means the image will be overexposed, a “-” sign indicates underexposure, and a centered “o” signifies correct exposure in the selected metering mode. The viewfinder also houses focusing aids – a split-image rangefinder and microprism collar – to help achieve sharp focus.
Pay attention to the shutter speed and aperture settings displayed, and familiarize yourself with how these indicators work together to achieve your desired photographic results.
Shooting Modes and Functions
The Minolta X-370 excels with aperture-priority and shutter-priority modes, offering flexible control over depth of field and motion blur for creative photography.
Aperture-Priority Mode
Aperture-Priority mode on the Minolta X-370 allows photographers to select the desired aperture (f-stop) for controlling depth of field, while the camera automatically sets the appropriate shutter speed for correct exposure.
This mode is particularly useful when prioritizing either a shallow depth of field – for isolating subjects with a blurred background – or a large depth of field – for landscapes where sharpness throughout the scene is desired.
After setting the aperture ring on the lens to your preferred f-stop, half-press the shutter button to activate the metering system. The viewfinder will display indicators confirming the shutter speed chosen by the camera.
Remember to observe these indicators to ensure the selected shutter speed is within the camera’s operational range, avoiding potential underexposure or motion blur.
Shutter-Priority Mode
Shutter-Priority mode on the Minolta X-370 empowers photographers to choose a specific shutter speed, ideal for capturing motion – either freezing it with fast speeds or blurring it creatively with slower ones.
This mode is invaluable for sports photography, action shots, or intentionally creating motion blur effects in waterfalls or moving vehicles. After selecting your desired shutter speed using the camera’s dial, the X-370 automatically adjusts the aperture to achieve proper exposure.
Half-pressing the shutter button activates the metering system, displaying the aperture value chosen by the camera within the viewfinder.
Always verify that the selected aperture falls within the lens’s available range, preventing potential exposure issues. Careful consideration of both shutter speed and aperture is key to achieving your desired photographic outcome.
Advanced Features
The Minolta X-370 provides depth of field control and exposure compensation, allowing photographers to fine-tune images for creative and technically sound results.
Depth of Field Control
Depth of field, the area appearing sharp in your photograph, is a crucial element for creative control with the Minolta X-370. It’s directly influenced by aperture settings; smaller apertures (higher f-numbers like f/16 or f/22) yield greater depth of field, ideal for landscapes where sharpness throughout the scene is desired.

Conversely, larger apertures (lower f-numbers like f/2.8 or f/4) create a shallow depth of field, effectively isolating your subject against a blurred background – perfect for portraits. The X-370’s aperture ring on the lens allows precise adjustments. Remember that focal length also impacts depth of field; longer focal lengths generally produce shallower depths of field than wider lenses at the same aperture.
Experimenting with these settings will unlock artistic possibilities, enabling you to emphasize specific elements and create visually compelling images. Understanding this relationship is key to mastering the X-370’s capabilities.
Exposure Compensation
Exposure compensation on the Minolta X-370 allows you to override the camera’s metering system when necessary, ensuring accurate exposures in challenging lighting situations. The camera’s meter assumes an average scene reflectance, but subjects like snow or dark clothing can mislead it.
Using the exposure compensation dial, you can instruct the camera to increase or decrease exposure. A “+” setting brightens the image, useful for underexposed scenes, while a “-” setting darkens it, ideal for overly bright subjects. Increments are typically in stops (e.g., +1, -1), each doubling or halving the light.
Mastering exposure compensation is vital for consistently achieving well-exposed photographs, particularly when dealing with high-contrast scenes or non-standard subject matter. It provides crucial control over the final image’s brightness.

Troubleshooting Common Issues
Common problems with the Minolta X-370 include film advance difficulties and inaccurate metering; these can often be resolved with careful inspection and adjustment.
Film Advance Problems
If you encounter issues with the film advancing, first ensure the film is loaded correctly and securely onto the take-up spool. A common cause is improperly seated film, preventing smooth winding.
Check for obstructions within the film chamber; small debris can hinder the mechanism. Gently try manually advancing the film using the manual advance lever, feeling for resistance.
If resistance persists, do not force it! This could damage the camera. Inspect the film leader to confirm it isn’t tangled or broken. Ensure the rewind knob is not accidentally engaged, as this will prevent forward movement.
Quartz control issues can sometimes affect the automatic advance; however, this is less frequent. If problems continue, professional servicing may be required to diagnose and repair the mechanism.
Metering Errors
Inaccurate metering on the Minolta X-370 can stem from several sources. First, verify the battery is fresh, as low voltage impacts the meter’s accuracy. Ensure the lens contacts are clean; dirt or corrosion disrupts the electrical connection.
Extreme lighting conditions – very bright or very dark scenes – can sometimes challenge the meter. Utilize exposure compensation to adjust readings in these situations. Confirm you’ve selected the correct metering mode (Match-LED or Full Metered Manual).
Reflective surfaces or strong backlighting can mislead the meter. Consider spot metering or partially compensating for these conditions. If errors persist, a professional camera technician should inspect and calibrate the metering system.
Maintaining Your Minolta X-370
Regular cleaning of the lens and careful storage are vital for preserving the Minolta X-370’s functionality and ensuring years of reliable photographic performance.
Cleaning the Lens
Maintaining a pristine lens is crucial for optimal image quality with your Minolta X-370. Begin by using a blower to gently remove any loose dust or debris from the lens surface.
For fingerprints or smudges, dampen a soft, lint-free lens cleaning cloth with a few drops of lens cleaning fluid – avoid applying fluid directly to the lens.
Gently wipe the lens in a circular motion, starting from the center and working your way outwards.
Avoid excessive pressure, as this could potentially damage the lens coating. For stubborn marks, repeat the process with a clean section of the cloth.
Always inspect the lens after cleaning to ensure no streaks or residue remain. Proper lens care will significantly extend the life and performance of your Minolta X-370.
Storage and Care
Proper storage is vital to preserving your Minolta X-370’s functionality. When not in use, store the camera in a cool, dry place, away from direct sunlight and extreme temperatures.
Ideally, keep it in a camera bag or case to protect it from dust, moisture, and accidental impacts.
Remove the batteries if the camera will be stored for an extended period to prevent potential corrosion.
Avoid storing the camera in humid environments, such as bathrooms or near sources of water.
Regularly check the camera for any signs of mold or mildew, especially if stored in a damp location. Gentle handling and consistent care will ensure your Minolta X-370 remains a reliable companion for years to come.