Brother PE770 Embroidery Machine Manual: A Comprehensive Guide
Welcome! This manual provides detailed instructions for your Brother PE770, ensuring successful embroidery projects and maximizing its impressive features.
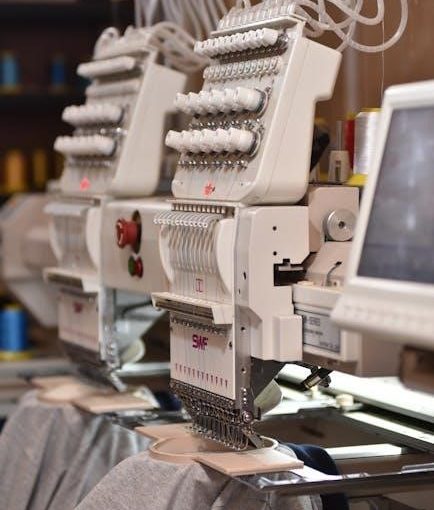
The Brother PE770 is a popular, user-friendly embroidery machine ideal for both beginners and experienced enthusiasts. It offers a fantastic balance of affordability, features, and performance, making it a great choice for personalizing garments, creating unique gifts, and starting a small embroidery business.
This machine boasts a generous embroidery area, allowing for larger and more complex designs. Its built-in designs and fonts provide immediate creative options, while USB connectivity expands possibilities by importing countless patterns. The PE770 simplifies the embroidery process with automatic needle threading, bobbin winding, and intuitive editing functions directly on the machine’s LCD screen.
This manual will guide you through every step, from initial setup to advanced customization, ensuring you unlock the full potential of your Brother PE770.
Unboxing and Initial Setup
Carefully unpack your Brother PE770, ensuring all components are present. These include the embroidery machine, embroidery hoop(s), bobbin case, screwdriver, cleaning brush, USB cable, and this manual. Inspect for any shipping damage immediately.
Remove all protective packaging and place the machine on a stable, level surface with adequate space for operation; Connect the power cord to a grounded outlet. Before first use, gently clean the bobbin area with the included brush to remove any factory dust.
Install the bobbin case correctly, following the diagram in the manual. Initial setup also involves threading the upper thread, which we’ll cover in detail later. Familiarize yourself with the machine’s basic layout before proceeding.
Machine Components & Parts Diagram
Understanding the PE770’s anatomy is crucial for operation and maintenance. Key components include the power switch, LCD screen for design display and settings, needle clamp and needle, presser foot, bobbin winder, bobbin case, thread spools, and the USB port for design transfer.
The machine features a designated area for the embroidery hoop attachment, ensuring secure fabric clamping. The internal mechanisms house the intricate stitching system. Refer to the detailed diagram included in this manual – and often printed on the machine itself – to pinpoint each part’s location and function.
Proper identification of these parts will aid in troubleshooting and routine maintenance, extending the life of your embroidery machine.
Identifying Key Parts: Needle, Bobbin, Presser Foot
The needle, responsible for creating stitches, requires careful selection based on fabric type. The bobbin, holding the lower thread, must be wound correctly and inserted smoothly into its case for balanced stitching. Different presser feet cater to various fabrics and techniques.
The standard presser foot is ideal for general embroidery. An embroidery foot, often included, provides better control and prevents fabric puckering. Understanding each part’s role is vital. Incorrect needle size can damage fabric, while a poorly wound bobbin leads to tension issues.
Regularly inspect the needle for damage and ensure the presser foot is securely attached. Proper care extends their lifespan and ensures optimal performance.
Power Supply and Connection Details
The Brother PE770 requires a standard 120V AC power supply. Ensure your outlet matches this specification to prevent damage. The power cord connects to the machine’s rear panel, securely fastening to avoid accidental disconnection during operation. Never use a damaged power cord.
For connecting to a computer for design transfer, utilize a standard USB 2.0 cable. The USB port is also located on the rear panel. Before connecting, ensure the machine is powered off. Software installation is crucial for seamless communication.
Always unplug the machine before cleaning or performing maintenance. A stable power source is essential for consistent performance and longevity.
Basic Operation: Threading the Machine
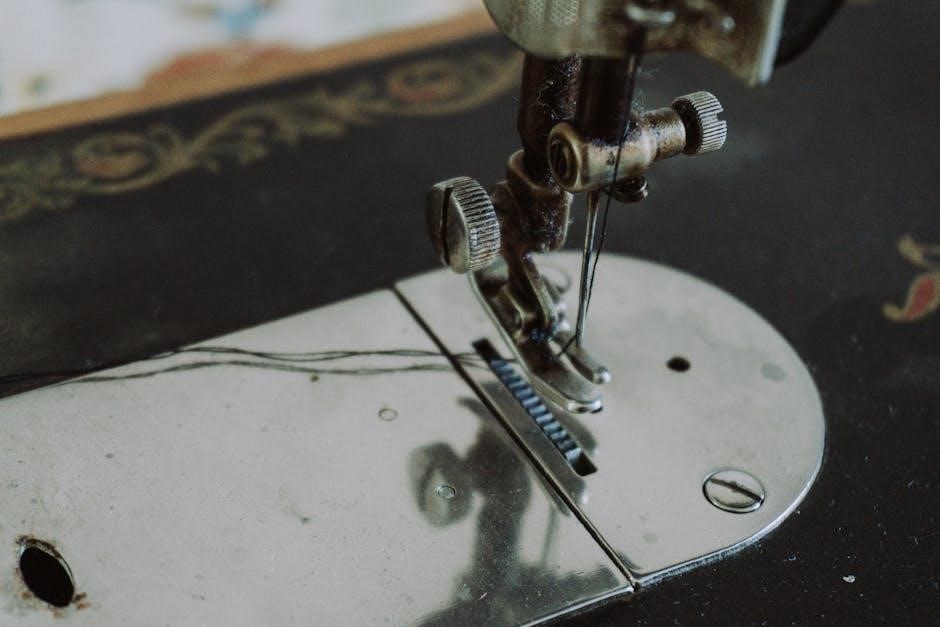
Proper threading is crucial for achieving high-quality embroidery. Begin by raising the presser foot. Guide the thread through the thread guide at the top of the machine, then down through the tension discs – ensure the thread snaps securely into place.
Next, thread the needle from front to back. Use the needle threader if needed, a helpful feature for easier threading. Finally, draw a sufficient length of thread through the needle eye, approximately 4-6 inches.
Incorrect threading can lead to skipped stitches or thread breakage. Refer to the detailed diagrams in this manual for visual guidance.
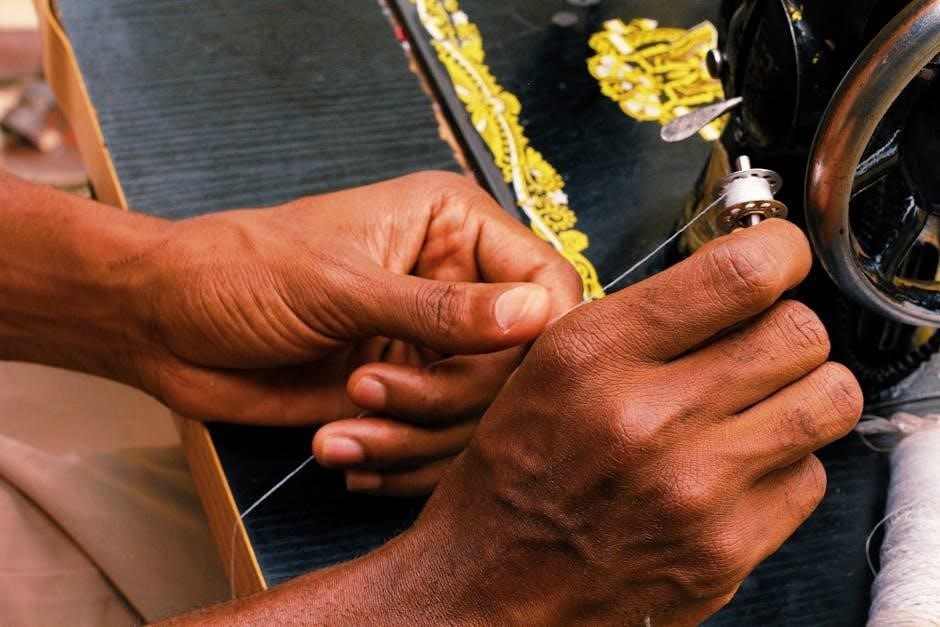
Bobbin Winding and Insertion
Consistent, even bobbin winding is essential for smooth embroidery. Place the bobbin on the bobbin winder spindle, ensuring it clicks into place. Guide the thread from the spool, through the thread guide, and around the bobbin several times.
Engage the bobbin winder by pushing the winder lever to the right. Press the foot pedal to begin winding; the machine will automatically stop when full.
To insert the bobbin, open the bobbin cover. Place the wound bobbin into the bobbin case, ensuring the thread unwinds in the correct direction. Thread the bobbin thread through the tension spring.
Hoop Selection and Fabric Clamping
Selecting the correct hoop is crucial for stable embroidery. The PE770 includes multiple hoop sizes; choose one slightly larger than your design. Attach the hoop to the machine, ensuring it clicks securely into place.
Separate the inner and outer hoop rings. Lay your fabric smoothly over the inner ring, then place the outer ring on top, pressing firmly to secure it.
Proper fabric clamping prevents puckering and shifting. Tighten the hoop screw to achieve a drum-tight surface. Avoid over-tightening, which can damage the fabric. Ensure even tension across the fabric for optimal results.
Importing Embroidery Designs
The Brother PE770 accepts embroidery designs in various formats, enhancing creative flexibility. Commonly supported file types include PES, DST, and others, allowing compatibility with diverse design sources.
Transferring designs is primarily done via USB. Format your USB drive to FAT32. Save your embroidery files directly onto the USB drive.
Insert the USB drive into the machine’s designated port. Navigate to the ‘Import/Export’ function on the PE770’s LCD screen. Select the USB drive and choose the desired design. The machine will then load the design into its memory, ready for editing or stitching.
Supported File Formats (PES, DST, etc.)
The Brother PE770 boasts impressive design compatibility, accepting a wide range of embroidery file formats for seamless project integration. The native PES format, exclusive to Brother machines, ensures optimal performance and detail. Beyond PES, the PE770 readily supports popular formats like DST, which is commonly used for its compact file size and efficient stitching.
Other supported formats include PCD, PCT, and SEW, broadening your design options. Understanding these formats allows you to utilize designs from various sources. Always verify design compatibility before transferring to avoid potential errors during import.
Transferring Designs via USB
Utilizing a USB flash drive is the primary method for transferring embroidery designs to your Brother PE770. Ensure the USB drive is formatted to FAT32 for optimal compatibility. Simply save your desired embroidery files (PES, DST, etc.) directly onto the USB drive from your computer.
Insert the USB drive into the designated port on the machine – typically located on the front panel. Navigate to the ‘Import/Export’ function on the PE770’s LCD screen. Select ‘USB Device’ and the machine will automatically detect the available designs. Choose your desired design and save it to the machine’s memory for future use.
Editing Designs on the PE770
The Brother PE770 offers built-in editing capabilities, allowing for design customization directly on the machine. Access the editing functions through the LCD screen after importing a design. You can resize, rotate, and mirror your embroidery patterns with ease.
Furthermore, the PE770 allows for color changes within a design, enabling you to personalize projects. Basic editing tools include the ability to move design elements and adjust stitch density. Explore the machine’s menu to discover options for combining designs and creating simple lettering. Remember to save your edited designs to the machine’s memory for future use.
Starting Your First Embroidery Project
Begin by selecting a simple, pre-loaded design or one you’ve transferred via USB. Ensure your fabric is properly hooped and clamped securely – this is crucial for stitch quality. Thread the machine following the detailed threading guide, and insert a correctly wound bobbin.
Next, navigate to the design selection screen and choose your desired pattern. Confirm the hoop size matches the design requirements. Perform a test stitch on scrap fabric to verify tension and design placement. Once satisfied, press ‘Start’ and watch your first embroidery project come to life! Remember to monitor the process initially.
Stitch Settings and Customization
The Brother PE770 offers extensive control over your embroidery. Speed adjustment allows for precise stitching, slower for intricate designs and faster for larger areas. Tension control is vital; adjust it to prevent puckering or loose stitches, experimenting with scrap fabric first. Density settings modify stitch count, impacting design coverage and texture.
Explore the various stitch types available – satin, fill, and running stitches each create unique effects. Utilize the PE770’s editing capabilities to modify stitch direction, overlap, and compensation. Understanding these settings unlocks creative potential, enabling personalized embroidery results tailored to your fabric and design preferences.
Adjusting Speed, Tension, and Density
Speed on the PE770 is crucial; lower speeds are ideal for detailed work and delicate fabrics, preventing errors. Tension impacts stitch quality – too loose causes looping, too tight can break the thread or pucker fabric. Test on scrap material! Adjust the upper and lower tension dials incrementally.
Density controls stitch count within a design. Higher density creates a bolder, more filled-in look, while lower density offers a lighter, more textured effect. Experiment to find the optimal density for your chosen fabric and design. These adjustments, combined, ensure professional-looking embroidery results.
Understanding Stitch Types
The Brother PE770 offers a variety of stitch types to enhance your embroidery projects. Running stitch is basic, ideal for outlines. Satin stitch creates a smooth, filled area, perfect for lettering and shapes. Fill stitch efficiently covers larger areas with parallel lines.
Zigzag stitch provides flexibility and is useful for appliqué. Understanding each stitch’s characteristics is key to achieving desired effects. The PE770 also supports combination stitches for complex designs. Experiment with different stitch types on scrap fabric to visualize their impact before committing to your final project. Proper stitch selection elevates your embroidery!
Troubleshooting Common Issues
Thread breakage is frequent; re-thread carefully, checking for snags. Bobbin issues – ensure correct insertion and winding. Skipped stitches often indicate incorrect needle type or tension. Design distortion can stem from improper hooping or fabric stabilization.
Error messages on the LCD screen provide clues; consult the manual for specific codes. Regularly clean the machine to prevent lint buildup, a common cause of malfunctions. If problems persist, restart the machine. Always use quality thread and needles. A systematic approach to diagnosis saves time and frustration!

Maintenance and Cleaning
Regular cleaning is crucial for optimal performance. Power off and unplug the machine before any maintenance. Use a soft brush to remove lint from the bobbin area, needle plate, and thread paths. Oil key lubrication points – refer to the diagram in the manual – sparingly, using embroidery machine oil.

Clean the feed dogs with a small brush to prevent fabric buildup. Periodically inspect the needle for damage and replace as needed. Wipe down the exterior with a damp cloth. Avoid harsh chemicals or abrasive cleaners. Proper maintenance extends the life of your PE770 and ensures consistently beautiful results!
Frequently Asked Questions (FAQ)
Q: My thread keeps breaking? A: Ensure correct threading, proper tension settings, and use quality embroidery thread. Q: Why is my design distorted? A: Check hoop clamping, fabric stabilization, and design compatibility. Q: Can I use different types of fabric? A: Yes, but stabilization is key – use appropriate stabilizers for each fabric type.
Q: How often should I oil the machine? A: Every few projects, or as needed, following the lubrication diagram. Q: What file formats are supported? A: PES, DST, and others – see the ‘Importing Designs’ section. For further assistance, consult the full manual or Brother’s support website.
Safety Precautions
Important: Always disconnect the power supply before performing maintenance or changing the needle. Never insert hands into the machine while it’s operating – moving parts pose a serious risk. Keep the machine away from water and flammable materials. Use only approved Brother accessories to prevent damage or injury.
Ensure the machine is placed on a stable, level surface. Do not operate if the power cord is damaged. Supervise children when near the machine. Regularly inspect all parts for wear and tear. Caution: The needle is sharp – handle with care. Refer to the full manual for comprehensive safety guidelines and warnings.
Warranty Information and Support Resources
Brother PE770 Warranty: Your machine is covered by a one-year limited warranty against manufacturing defects, starting from the original purchase date. This warranty covers parts and labor. Please retain your proof of purchase for warranty claims. The warranty does not cover damage due to misuse, accidents, or unauthorized repairs.
Support Resources: For assistance, visit the official Brother website at support.brother.com. You’ll find FAQs, troubleshooting guides, downloadable manuals, and driver updates. Brother also offers phone support; contact details are available online. Explore online forums and communities for peer-to-peer assistance and helpful tips.