Buzzy Seeds Grow Kit Instructions: A Comprehensive Guide
Embark on a rewarding journey with our kit! Discover the secrets to successful cultivation, from initial seed starting to bountiful harvests, guided by expert advice․
Welcome to the wonderful world of growing! The Buzzy Seeds Grow Kit is designed for both beginner and experienced gardeners, offering a streamlined path to cultivating vibrant plants․ This kit isn’t just about seeds; it’s about fostering a connection with nature and experiencing the joy of watching life unfold from a tiny seed․
Inside, you’ll find everything needed to kickstart your gardening adventure, carefully selected for optimal growth and success․ We’ve prioritized quality and ease of use, ensuring a fulfilling experience․ Whether you’re aiming for a colorful flower garden, a bountiful herb patch, or a delicious vegetable harvest, this kit provides the foundation for achieving your gardening dreams․ Prepare to get your hands dirty and witness the magic of growth!
Understanding the Seeds Included
Your Buzzy Seeds Grow Kit contains a curated selection of high-quality seeds, each chosen for its vibrant growth potential and ease of cultivation; The variety pack includes options for diverse growing conditions and preferences, ensuring something for every gardener․ Before you begin, familiarize yourself with each seed type;
Seed packets are clearly labeled with essential information, including plant type, expected bloom time, and ideal growing conditions․ Understanding these details is crucial for providing the appropriate care․ Some seeds may require pre-soaking, while others benefit from direct sowing․ Careful consideration of these nuances will maximize germination rates and overall plant health, leading to a flourishing garden․
Kit Contents Checklist
Ensure you have all the components for a successful growing experience! Your Buzzy Seeds Grow Kit should include the following items:
- Seed Packets: A variety of carefully selected seeds․
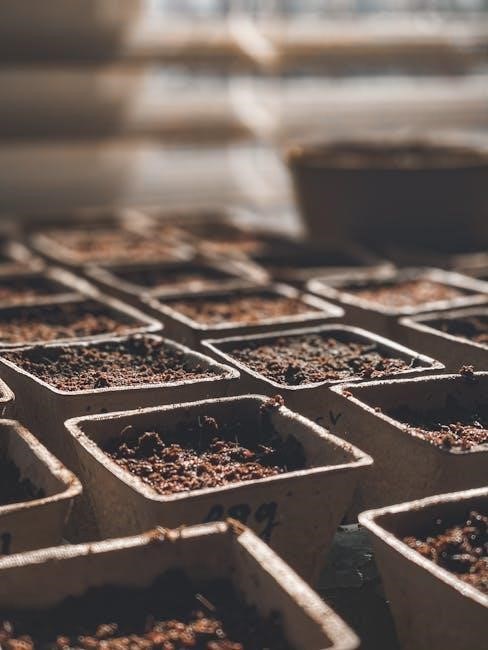
- Growing Trays: Durable trays for seed starting․
- Seed Starting Mix: A specialized soil blend for optimal germination․
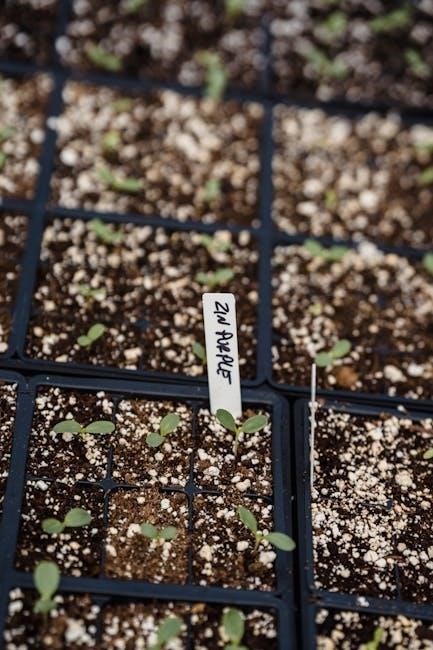
- Plant Markers: To clearly label your seedlings․
- Humidity Dome: To maintain consistent moisture levels․
- Instruction Manual: This comprehensive guide!
If any items are missing, please contact our customer support team immediately․ Proper preparation is key, so verify all components are present before commencing your gardening adventure․ A complete kit ensures a smooth and rewarding journey from seed to bloom․
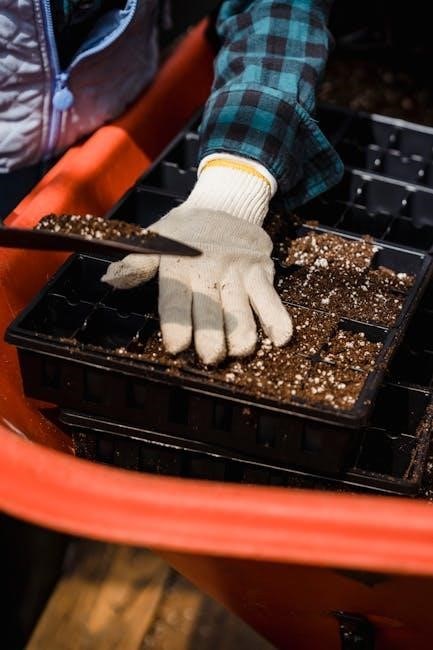
Preparing Your Growing Medium
Creating the ideal foundation for your seeds is crucial! Begin by gently loosening the seed starting mix in a clean container․ Avoid compaction, as this hinders root development․ Moisten the mix thoroughly with water, ensuring it’s damp but not soggy – think of a wrung-out sponge;
Fill your growing trays with the moistened mix, leaving about half an inch of space from the top․ Gently level the surface․ This provides a consistent base for even germination․ Properly prepared growing medium ensures excellent drainage and aeration, vital for healthy seedling growth․ A well-prepared base sets the stage for success!
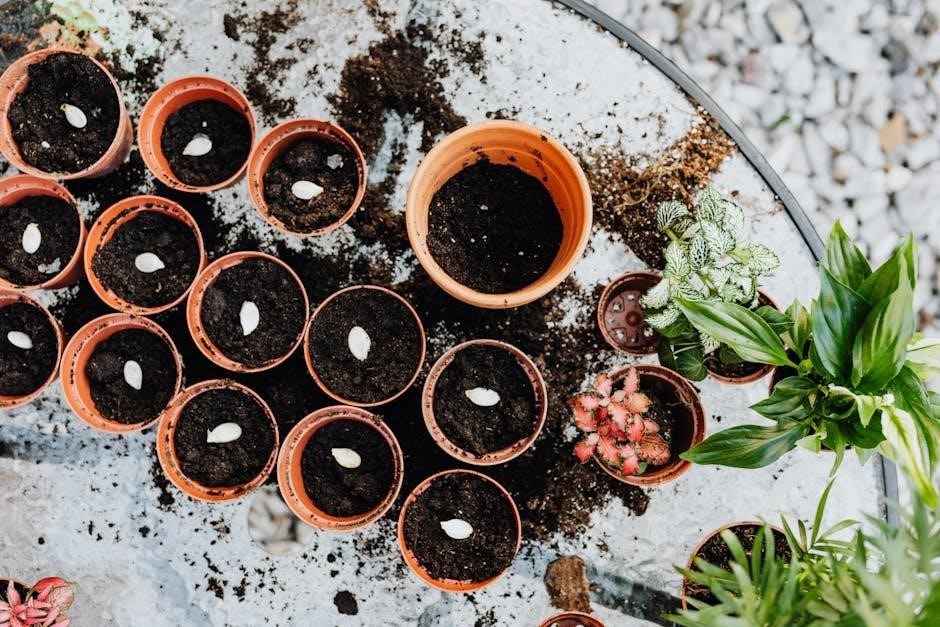
Seed Starting: The Initial Phase
Now, let’s begin the exciting process of bringing your seeds to life! Gently create small indentations in the prepared growing medium, following the depth guidelines provided with your seed packets․ Carefully place one or two seeds into each indentation – a backup ensures success․
Lightly cover the seeds with a thin layer of the growing medium․ Gently mist the surface with water to settle the seeds and maintain moisture․ Cover the tray with a humidity dome or plastic wrap to create a greenhouse effect, promoting germination․ Place in a warm, dark location to initiate the process․
Optimal Soil Temperature for Germination
Maintaining the correct soil temperature is crucial for successful germination․ Most seeds thrive within a range of 65-75°F (18-24°C)․ A seedling heat mat can be incredibly beneficial, especially in cooler environments, providing consistent bottom heat․
Avoid placing the seed tray in direct sunlight during this initial phase, as excessive heat can hinder germination․ A warm, dark location is ideal․ Regularly monitor the soil temperature using a soil thermometer to ensure it remains within the optimal range․ Consistent warmth encourages rapid and uniform sprouting, giving your seedlings the best possible start․
Seed Depth and Spacing Guidelines
Proper seed depth and spacing are vital for healthy seedling development․ As a general rule, sow seeds at a depth equal to two to three times their diameter․ Smaller seeds should be barely covered with soil, while larger seeds can be planted a bit deeper․
Allow adequate spacing between seeds to prevent overcrowding, typically 1-2 inches apart․ This ensures sufficient room for root development and air circulation․ Refer to the seed packet for specific recommendations, as requirements vary between plant varieties․ Consistent spacing promotes robust growth and minimizes competition for resources․
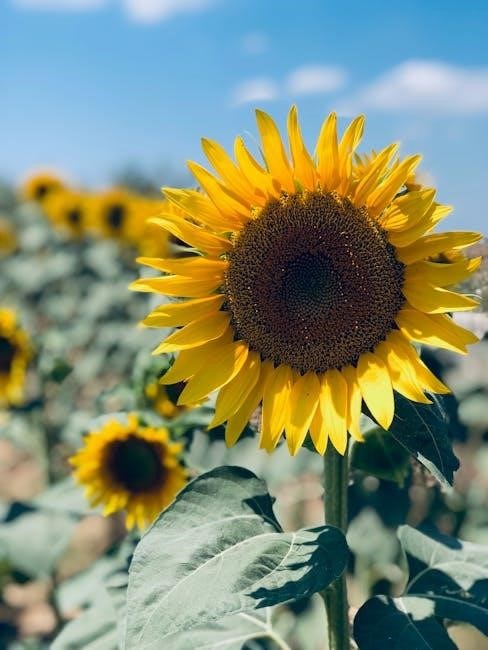
Providing Adequate Light
Light is crucial for seedling growth and development․ Young seedlings require substantial light to prevent legginess and ensure strong stems․ Insufficient light results in weak, elongated plants that are prone to falling over․ Aim for at least six to eight hours of direct light daily, or supplement with grow lights․
Position your grow kit near a sunny window, preferably south-facing; If natural light is limited, invest in full-spectrum grow lights to provide consistent illumination․ Monitor seedlings closely for signs of light stress, such as bleaching or burning, and adjust accordingly․
Natural Sunlight vs․ Grow Lights
Choosing between sunlight and grow lights depends on your environment․ Natural sunlight is ideal, offering a full spectrum of light beneficial for plant growth․ However, consistency can be a challenge due to weather and seasonal changes․ Grow lights provide a controlled and reliable light source, especially during darker months or in areas with limited sunlight․
Full-spectrum LED grow lights are energy-efficient and mimic natural sunlight effectively․ While sunlight is free, grow lights require an initial investment and electricity consumption․ Consider your space, climate, and budget when deciding which option best suits your Buzzy Seeds grow kit needs․
Light Duration and Intensity Requirements
Optimal light exposure is crucial for seedling development․ Generally, seedlings require 14-16 hours of light daily․ Insufficient light leads to leggy growth, while excessive light can cause scorching․ Intensity varies depending on the plant type; however, a good starting point is around 200-300 foot-candles․
Monitor your Buzzy Seeds closely for signs of stress․ If using grow lights, adjust the distance to maintain appropriate intensity․ Observe leaf color and growth patterns – pale leaves suggest insufficient light, while burnt edges indicate too much․ Consistent light duration and intensity promote healthy, robust seedlings ready for transplanting․
Watering and Humidity Control
Maintaining proper moisture levels is vital for germination and growth․ Keep the growing medium consistently moist, but not waterlogged․ Overwatering can lead to damping-off, a fungal disease that affects seedlings․ Use a spray bottle to gently mist the surface, avoiding direct pouring․
Humidity plays a key role, especially during the initial stages․ A humidity dome or plastic wrap can help retain moisture․ Gradually reduce humidity as seedlings develop․ Monitor for signs of wilting or mold growth, adjusting watering and ventilation accordingly․ Buzzy Seeds thrive in a balanced environment;
Nutrient Management
Providing essential nutrients fuels healthy growth․ While the initial growing medium contains some nutrients, supplemental feeding will be necessary as Buzzy Seeds develop․ Begin with a diluted liquid fertilizer formulated for seedlings, applying it every two weeks․
Consider organic options like compost tea or fish emulsion for a natural boost․ Synthetic fertilizers offer precise nutrient control, but use them cautiously to avoid over-fertilization․ Monitor plants for signs of nutrient deficiencies – yellowing leaves or stunted growth – and adjust accordingly․ Balanced nutrition is key!
When and How to Fertilize
Start fertilizing seedlings after their first set of true leaves appear․ Use a balanced, water-soluble fertilizer diluted to half strength, applying it every two weeks․ Avoid direct contact with the stem and leaves to prevent burning․ As Buzzy Seeds mature, gradually increase the fertilizer concentration, following package instructions․
Observe your plants closely for signs of over-fertilization – leaf tip burn or wilting – and reduce the amount or frequency if needed․ During flowering and fruiting, switch to a fertilizer higher in phosphorus and potassium to support bloom development․ Consistent, moderate feeding yields the best results!
Organic vs․ Synthetic Fertilizers
Organic fertilizers, like compost or worm castings, release nutrients slowly, improving soil structure and beneficial microbial life․ They are gentler on plants but may require more frequent application for Buzzy Seeds․ Synthetic fertilizers provide a quick nutrient boost, ideal for addressing deficiencies rapidly․
However, overuse can lead to nutrient burn and environmental concerns․ For a balanced approach, consider combining both! Start with organic amendments at planting and supplement with diluted synthetic fertilizer during peak growth․ Choose fertilizers specifically formulated for the type of plants you are growing for optimal results․
Common Issues and Troubleshooting
Growing with Buzzy Seeds isn’t always smooth sailing! Watch for yellowing leaves, indicating nutrient deficiencies or overwatering․ Leggy seedlings suggest insufficient light – relocate or supplement with a grow light․ Pests like aphids can be controlled with insecticidal soap or neem oil․ Early detection is key!
Fungal diseases, especially damping-off, thrive in overly wet conditions․ Ensure good air circulation and avoid overwatering․ If problems persist, consult online resources or gardening experts․ Regularly inspect your plants for any signs of distress and address them promptly to maintain a thriving garden․
Dealing with Pests and Diseases
Protect your Buzzy Seeds! Aphids, spider mites, and whiteflies are common pests․ Inspect leaves regularly for tiny insects or webbing․ Treat infestations with insecticidal soap, neem oil, or a strong blast of water․ Prevention is crucial – maintain good air circulation and avoid overcrowding․
Fungal diseases like powdery mildew can appear as white, powdery spots․ Improve airflow, reduce humidity, and apply a fungicide if necessary․ Early intervention prevents widespread infection․ Remove and discard any severely affected leaves to contain the spread․ Consistent monitoring and prompt action are vital for healthy growth!
Addressing Seedling Damping Off
Damping off is a fungal disease that causes seedlings to rot at the soil line, leading to collapse․ Prevention is key! Use sterile seed starting mix, avoid overwatering, and ensure good air circulation․ Don’t overcrowd seedlings – provide ample space for airflow․
If damping off occurs, immediately remove affected seedlings to prevent spread․ Improve ventilation and allow the soil surface to dry slightly between waterings․ Consider applying a fungicide specifically labeled for damping off, following package instructions carefully․ Maintaining a clean growing environment is paramount for healthy seedlings!
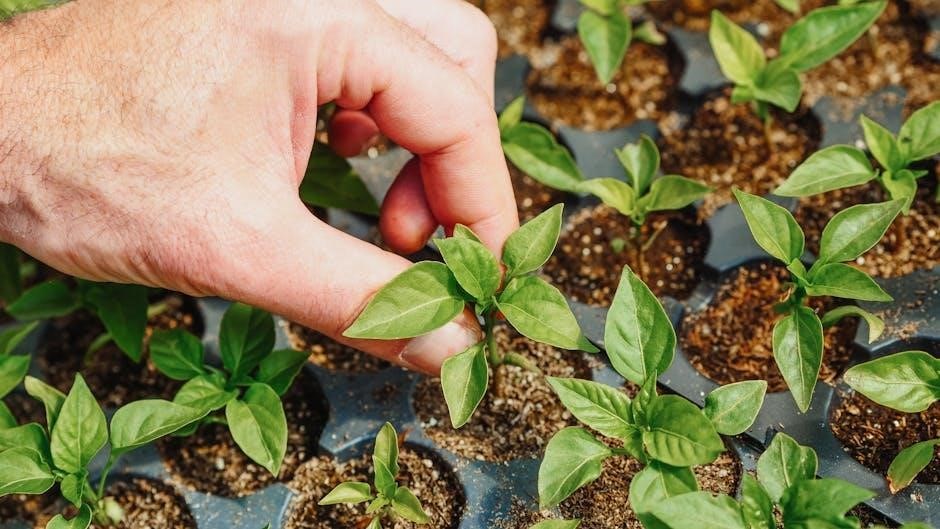
Transplanting Seedlings
Once seedlings develop their first true leaves, it’s time to transplant! Gently loosen the soil around the roots, and carefully lift the seedling, handling it by the leaves, not the stem․ Prepare a larger pot with a well-draining potting mix․
Create a small hole and place the seedling, ensuring the root ball is covered but the stem isn’t buried too deeply․ Gently firm the soil around the seedling and water thoroughly․ Avoid direct sunlight immediately after transplanting; provide shade for a few days to help them adjust․ This minimizes transplant shock and encourages robust growth!
Ongoing Care and Maintenance
Consistent care is key to thriving plants! Regularly check soil moisture and water when the top inch feels dry․ Rotate pots weekly to ensure even light exposure, preventing leggy growth․ Remove any yellowing or dead leaves promptly to maintain plant health and airflow․
Monitor for pests and address them immediately with organic solutions․ Maintain optimal temperature and humidity levels based on the specific seed variety․ Regular observation allows for early detection of issues, ensuring a vibrant and productive garden throughout the growing season!
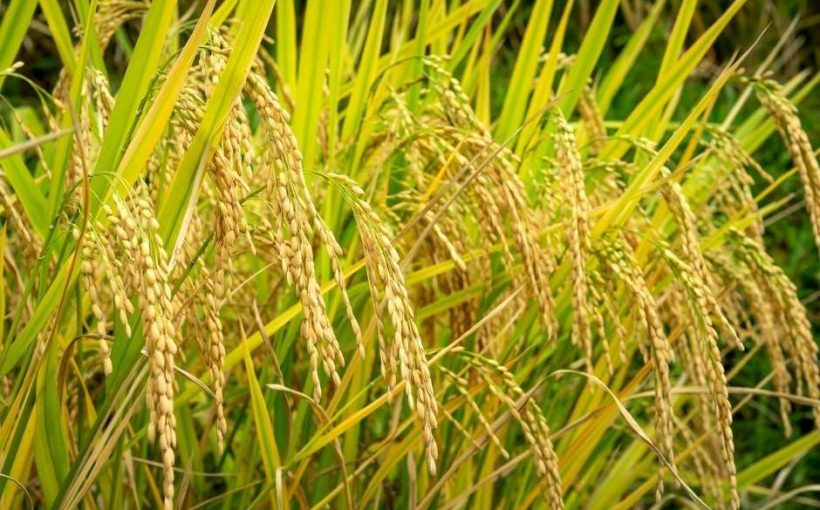
Harvesting Your Buzzy Seeds
Timing is crucial for optimal seed quality! Harvest when plants exhibit signs of maturity – typically, seed heads are dry and brown․ Gently collect seed heads, placing them in a paper bag for drying․ Shake the bag to release the seeds, removing any remaining debris․
Properly dried seeds ensure successful future growth․ Store harvested seeds in a cool, dark, and dry location within airtight containers․ Label each container with the seed variety and harvest date for easy identification․ Enjoy the fruits (or seeds!) of your labor and prepare for another bountiful season!
Seed Saving for Future Growth
Preserve your favorite varieties for years to come! Seed saving connects you to the cycle of life and ensures genetic diversity․ Select healthy, vigorous plants for seed collection, representing the best traits․ Thoroughly dry seeds before storage to prevent mold and maintain viability․
Proper storage is key to long-term success․ Store seeds in airtight containers, labeled with the variety and date, in a cool, dark, and dry place․ Consider using silica gel packets to absorb moisture․ Regularly check stored seeds for any signs of deterioration, ensuring future gardening triumphs!
Advanced Techniques: Pruning and Training
Unlock your plants’ full potential with strategic pruning and training! Pruning encourages bushier growth and increased yields by removing unproductive foliage․ Training supports plant structure, maximizing light exposure and airflow․ Utilize techniques like pinching, staking, or trellising, tailored to your specific plant variety․
Timing is crucial for optimal results․ Prune during the growing season to shape the plant, and remove dead or diseased branches promptly․ Training should begin early, guiding growth before stems become rigid․ These advanced methods elevate your gardening skills, leading to healthier, more productive plants!
Troubleshooting Common Growth Problems
Encountering issues? Don’t worry, solutions are within reach! Yellowing leaves often indicate overwatering or nutrient deficiencies․ Leggy seedlings signal insufficient light․ Pests like aphids can be controlled with insecticidal soap or neem oil․ Addressing these promptly prevents significant setbacks․
Monitor your plants regularly for early signs of trouble․ Proper ventilation minimizes fungal diseases․ Adjust watering based on soil moisture, not a fixed schedule․ Remember, a little detective work can save your precious plants! Consistent observation and swift action are key to a thriving garden․
Resources and Further Information
Expand your gardening knowledge! Explore online forums dedicated to seed starting and plant care for community support and shared experiences․ University extension websites offer regionally specific advice on soil types and pest control․ Botanical gardens often host workshops and provide valuable insights․
Numerous books and articles delve deeper into organic gardening techniques․ Websites specializing in hydroponics or indoor growing can offer advanced strategies․ Remember to cross-reference information and adapt it to your specific kit and environment․ Continuous learning ensures a fulfilling and successful gardening journey!