Black & Decker All-in-One Bread Maker Manual: A Comprehensive Guide
This manual provides essential safety precautions, operating instructions, and troubleshooting tips for your Black & Decker bread maker, ensuring optimal performance and longevity.

Safety Precautions
To ensure safe operation, avoid touching hot surfaces and always utilize handles or oven mitts when handling the baking pan. Never immerse the cord, plug, or appliance (excluding the removable paddle during cleaning) in water.
Supervise children closely when the bread maker is in use. Unplug the appliance when not in use, before cleaning, or if it malfunctions. Do not operate with a damaged cord or after being dropped.
Avoiding Burns & Electrical Shock
Protect yourself from burns by using handles or oven mitts; hot surfaces are present during and after operation. To prevent electrical shock, do not immerse the cord, plug, or bread maker itself in liquids.

Only the mixing paddle is safe for immersion when removed for cleaning. Always unplug the appliance before cleaning or if a malfunction occurs. Avoid using damaged cords or plugs.
Understanding Your Bread Maker
Familiarize yourself with the Black & Decker bread maker’s components for safe and efficient operation. This includes the baking pan, mixing paddle, and the exterior housing.
Understanding the control panel is crucial; it manages baking cycles and settings. Proper knowledge of these elements ensures successful bread making and prevents accidental misuse or damage to the appliance.
Key Components & Their Functions
The baking pan holds ingredients during the bread-making process and must be removed carefully. The mixing paddle kneads dough for consistent texture. Avoid contact with moving parts during operation.
The exterior housing protects internal components. Never immerse the cord, plug, or appliance in water, except for the paddle during cleaning. Proper component understanding ensures safe and effective use.
Control Panel Overview
The control panel features buttons for cycle selection, crust color adjustment, and timer settings; The START/RESET button initiates or halts operation; hold to stop mid-cycle.
Indicator lights display the current stage of the bread-making process. Familiarize yourself with each function for customized baking. Refer to the recipe guide for appropriate settings.
Getting Started: First-Time Use
Before your first loaf, unpack and remove all packaging materials. Wipe the interior and baking pan with a damp cloth. Ensure the paddle is securely attached.
Run a test cycle without ingredients to burn off any manufacturing residue. This initial run ensures a clean and odor-free baking environment for future use. Follow the manual’s testing instructions carefully.
Initial Setup & Cleaning
Upon unboxing, carefully remove all packing materials. Prior to first use, wipe down the bread maker’s interior with a slightly damp cloth to eliminate any dust or debris; The baking pan and paddle should also be washed with warm, soapy water and thoroughly dried.
Avoid immersing the main unit in water; only the pan and paddle are designed for washing. Proper cleaning ensures optimal performance and prevents unwanted odors.
Testing the Bread Maker
After cleaning, test the bread maker’s functionality by running a simple cycle without any ingredients. Select a basic bread setting and press ‘Start’. This confirms the heating element, paddle, and kneading mechanism are operating correctly.
Listen for proper operation and ensure the control panel illuminates as expected. This initial test helps identify any potential issues before baking your first loaf.
Ingredient Guidelines
Successful bread making relies on precise ingredient measurements. Use fresh, high-quality flour – bread flour yields the best results, but all-purpose can also be used. Yeast must be active; check the expiration date.
Liquid temperature is crucial; lukewarm water activates yeast effectively. Accurate measurements ensure proper dough consistency and loaf texture.
Recommended Flour Types
For optimal results, bread flour is highly recommended due to its higher protein content, creating a stronger gluten structure and a chewier texture. All-purpose flour can be substituted, but may yield a slightly less robust loaf.
Whole wheat flour adds a nutty flavor and increased nutritional value, but requires more liquid. Experiment with blends for varied tastes and textures.
Yeast & Liquid Measurements
Accurate measurements are crucial for successful bread making. Use the measurements provided in your recipes, typically listed in teaspoons or tablespoons for yeast and cups or milliliters for liquids.
Ensure yeast is fresh; expired yeast won’t activate properly. Liquid temperature impacts yeast activity – lukewarm is ideal, avoiding extremes of hot or cold.
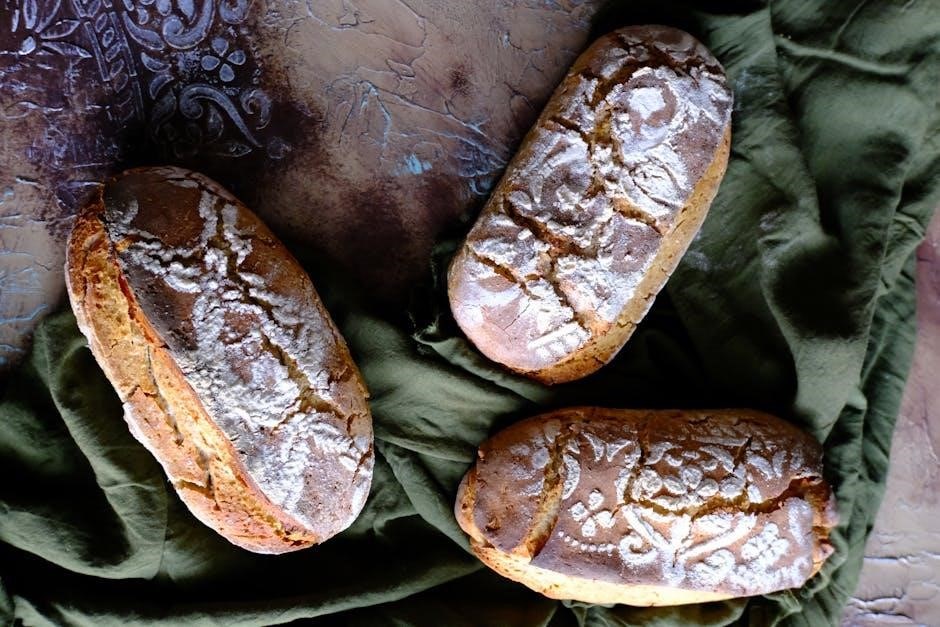
Basic Bread Recipes
This section features foundational recipes to get you started with your Black & Decker bread maker. Begin with the Classic White Bread, a simple recipe perfect for beginners, utilizing common ingredients for a consistently delicious loaf.
Next, explore the Whole Wheat Bread recipe, offering a nutritious alternative with a slightly denser texture and wholesome flavor.
Classic White Bread Recipe
For a perfect loaf, combine 3 cups of bread flour, 1 ¼ cups of warm water, 2 tablespoons of sugar, 1 ½ teaspoons of salt, and 2 ¼ teaspoons of active dry yeast in the baking pan.
Select the ‘Basic’ cycle and press start. This recipe yields a soft, classic white bread, ideal for sandwiches or toast. Enjoy the aroma of freshly baked bread!
Whole Wheat Bread Recipe
To create a nutritious loaf, combine 2 cups of whole wheat flour, 1 cup of bread flour, 1 ¼ cups of warm water, 2 tablespoons of honey, 1 ½ teaspoons of salt, and 2 ¼ teaspoons of active dry yeast.
Choose the ‘Whole Wheat’ cycle and press start. This recipe delivers a hearty, flavorful bread, perfect for a healthy lifestyle. Enjoy a wholesome and delicious experience!
Advanced Bread Making
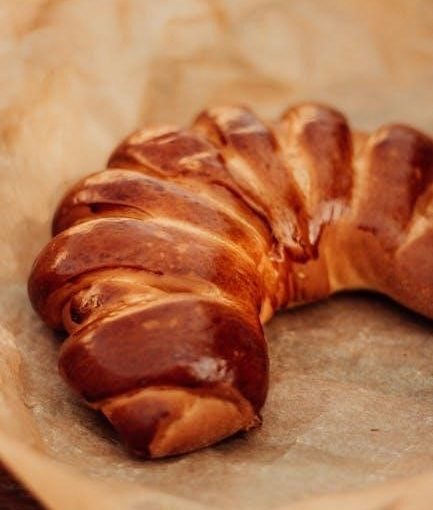
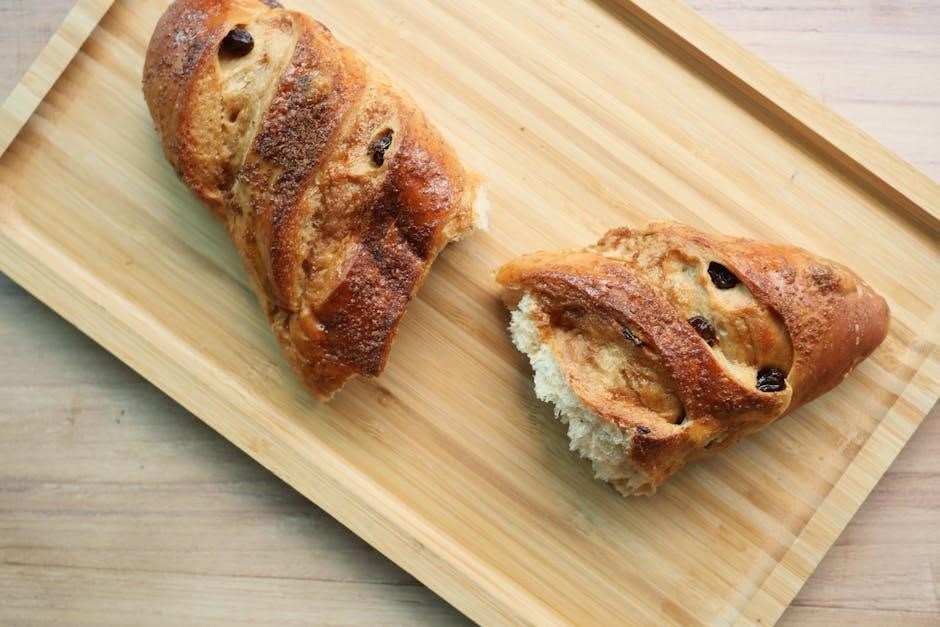
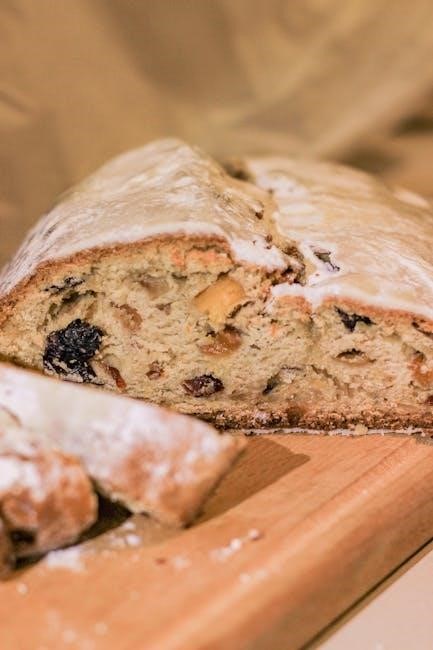
Explore diverse flavors beyond basic loaves! Experiment with sweet additions like raisins, cranberries, or chocolate chips, enhancing your bread with delightful textures and tastes.
For gluten-free options, utilize specialized flour blends and the appropriate cycle. Mastering these techniques unlocks a world of baking possibilities, expanding your culinary creativity and enjoyment.
Sweet Bread Recipes
Indulge in delightful treats with our sweet bread recipes! Incorporate sugar, honey, or maple syrup for added sweetness, alongside ingredients like cinnamon, nutmeg, or vanilla extract for aromatic flavors.
Experiment with dried fruits, chocolate chips, or nuts to create unique and irresistible loaves. Adjust sweetness levels to your preference, crafting personalized baked goods for any occasion.
Gluten-Free Bread Options
For those with dietary restrictions, explore our gluten-free bread recipes! Utilize gluten-free flour blends, ensuring they contain xanthan gum for binding.
Adjust liquid measurements carefully, as gluten-free flours absorb moisture differently. Experiment with various blends to achieve desired texture and flavor. Patience is key, as gluten-free bread may require adjustments to baking times.
Using the Delay Timer
The delay timer allows for freshly baked bread when you wake up or return home! Simply calculate the desired finish time and set the timer accordingly.
Avoid using perishable ingredients like milk or eggs with extended delays. Ensure all ingredients are fresh and properly measured for optimal results. A power outage will reset the timer, halting the baking process.
Setting the Timer for Fresh Bread
To utilize the delay timer, first select your desired bread-making cycle. Then, press the “Timer” button and use the hour and minute buttons to set the time you want the bread to finish baking.

Press “Start” to activate the timer. Remember to account for the total cycle time when calculating your desired finish time for perfectly timed, fresh bread!
Important Considerations for Delayed Start
When using the delay timer, avoid adding perishable ingredients like milk, eggs, or fresh produce directly into the bread maker. These can spoil if left at room temperature for extended periods.
It’s best to use the delay timer with recipes containing dry ingredients only, or add perishables during the final mixing stage for optimal freshness and safety.
Cleaning & Maintenance
Regular cleaning ensures your Black & Decker bread maker operates efficiently and safely. Always unplug the appliance and allow it to cool completely before cleaning. The baking pan and paddle are removable and can be washed with warm, soapy water.
Avoid immersing the main unit in water; wipe the exterior with a damp cloth. Proper maintenance extends the lifespan of your bread maker.
Cleaning the Baking Pan & Paddle
After each use, remove the baking pan and kneading paddle. Wash them thoroughly with warm, soapy water, ensuring all bread residue is removed. The mixing paddle can be immersed in water for cleaning, unlike the main bread maker unit.
Dry both components completely before reassembling and storing. Avoid abrasive cleaners that could damage the non-stick coating.
Exterior Cleaning & Storage
To clean the exterior, wipe down the bread maker with a damp cloth. Never immerse the appliance in water or any other liquid. Ensure the unit is unplugged and completely cool before cleaning.
Store the bread maker in a cool, dry place when not in use. Avoid storing anything on top of it, and keep the cord neatly organized to prevent damage.
Troubleshooting Common Issues
If your bread doesn’t rise properly, check the yeast’s expiration date and ensure accurate measurements of ingredients. A stuck paddle can often be resolved by allowing the bread to cool completely before removal.
Always unplug the unit before attempting to dislodge the paddle. If issues persist, consult the error code section or contact customer support for assistance.
Bread Not Rising Properly
Insufficient rise often stems from expired or inactive yeast; verify its freshness. Incorrect ingredient measurements, particularly liquids and yeast, are also common culprits. Ensure proper temperature for yeast activation.
Ambient temperature can affect rising; a warmer environment aids the process. Double-check the recipe and ingredient order, as improper sequencing can hinder optimal results.
Paddle Stuck in Bread
A paddle firmly lodged within the baked loaf typically occurs when the dough is excessively sticky or hasn’t fully baked. Avoid interrupting the baking cycle prematurely, as this can cause sticking.
Allow the bread to cool completely before attempting paddle removal. Gently twist and pull; if resistance persists, use a non-abrasive tool to carefully loosen it.
Understanding Error Codes
Your Black & Decker bread maker utilizes error codes to signal malfunctions. These codes indicate issues like power failures, sensor problems, or temperature irregularities. Refer to the manual’s dedicated error code section for specific meanings.
Addressing the issue often involves unplugging, resetting, and restarting the machine. If the error persists, contact customer support for assistance and potential repair options.
Decoding Bread Maker Error Messages

Error messages on your Black & Decker bread maker pinpoint specific problems. “Err 1” might indicate a power interruption during the cycle, while “Err 2” could signal a faulty temperature sensor.
Consult the manual’s detailed error code list for precise explanations and recommended solutions, ranging from simple resets to contacting customer service for more complex issues.
Recipe Customization
Experiment with your Black & Decker bread maker! Adjust ingredient quantities – more flour for a denser loaf, more liquid for a softer texture.
Enhance flavors by adding fruits, nuts, or seeds, ensuring they are properly measured and distributed. Remember to avoid overfilling the baking pan, as this can hinder rising and baking performance.
Adjusting Ingredient Quantities
Fine-tune your bread’s texture by modifying ingredient amounts. Increasing flour yields a denser loaf, ideal for sandwiches, while adding more liquid creates a softer crumb.
Small adjustments are key; start with a tablespoon or two. Note how changes affect the final product, and keep a record of successful modifications for future baking endeavors.
Adding Fruits, Nuts & Seeds
Enhance your bread with delightful additions! Add fruits (dried is best), nuts, or seeds during the second kneading cycle, signaled by a beep. This prevents them from sinking.
Generally, limit additions to 1-1.5 cups to avoid disrupting the dough’s structure. Chopped nuts and smaller fruits distribute more evenly. Experiment with flavors for unique loaves!
Warranty Information
Your Black & Decker bread maker is warranted against defects in materials and workmanship. For coverage details, refer to the separate warranty card included with your appliance.
To initiate a claim within the warranty period, contact the toll-free number listed on the manual’s cover. Retain your proof of purchase for efficient processing of any warranty requests.
Coverage Details & Claim Process
The warranty covers defects under normal household use, excluding damage from misuse or unauthorized repairs. To file a claim, call the toll-free number provided on the manual’s cover.
You’ll need your proof of purchase and a description of the defect. Black & Decker will guide you through examination, repair, or replacement options, as deemed appropriate.
Important Safety Reminders
Always unplug the bread maker when not in use, before cleaning, or when adding/removing parts. Never operate with a damaged cord or after a malfunction. Avoid using accessory attachments not recommended by Black & Decker.
Do not immerse the cord, plug, or appliance in water; only the paddle is safe for cleaning. Close supervision is crucial when children are nearby, and avoid contact with moving parts during operation.
Avoiding Damage to the Appliance
To prevent damage, do not use the bread maker outdoors or near hot surfaces like burners or ovens. Avoid yanking the cord when disconnecting; grasp the plug firmly. Never use the appliance for storage or insert utensils inside.
Extreme caution is needed when moving the bread maker with hot contents. Do not operate if dropped or damaged, and refrain from removing the baking pan during operation.
Safe Operation Practices
Always unplug the bread maker when not in use, before cleaning, or when adding/removing parts. Allow it to cool completely before handling. Supervise children closely when the appliance is in use.
Do not touch hot surfaces; use handles or oven mitts. Avoid contact with moving parts during operation. If needing to stop, press and hold START/RESET until a beep sounds.
Removing the Baking Pan
Do not remove the baking pan during the bread-making cycle. If interruption is necessary, press and hold the START/RESET button until a beep confirms operation has stopped;
Ensure the unit is unplugged before attempting to remove the pan. Carefully lift the pan, using oven mitts if still warm, and avoid spilling any contents.
Procedure for Safe Removal During Operation
If you absolutely must stop the bread maker mid-cycle, press and hold the START/RESET button until you hear a distinct beep. This signals the unit has halted.
Only then, after confirming the unit is off, can you carefully remove the baking pan, utilizing oven mitts to protect against residual heat and potential spills.
Electrical Safety
Never immerse the cord, plug, or bread maker itself in water or any other liquid, except for the mixing paddle when removed for cleaning.
Always disconnect the appliance from the outlet by grasping the plug – do not pull the cord. Inspect the cord regularly for damage, and avoid using it if compromised.
Cord and Plug Precautions
Ensure the cord doesn’t touch hot surfaces or dangle over table edges, preventing accidental burns or damage.
Avoid operating the appliance with a damaged cord or plug; contact customer support for repair or replacement. Never yank the cord to disconnect – grasp the plug firmly.