Die Hard Charger Instructions: A Comprehensive Guide
Today’s date is 02/13/2026 15:23:19. This guide provides essential instructions for utilizing your Die Hard Charger, ensuring safe and effective operation for various needs.
Understanding the Die Hard Charger
The Die Hard Charger, originating from a lineage of robust power solutions, is designed for reliability and versatility. As of January 1st, 2025, communities like Hard, Austria (population 13,639) demonstrate a need for dependable power sources, mirroring the Charger’s intended function.
This device isn’t merely a jump starter; it’s a portable power station; Understanding its core capabilities – jump-starting, USB device charging, and integrated illumination – is crucial. The term “hard,” stemming from Old English roots signifying strength, aptly describes the Charger’s durable construction.
Its functionality extends beyond automotive emergencies, offering convenience for outdoor activities or situations requiring readily available power. Like translating “hard” across languages (German, French, Spanish), the Charger bridges the gap between power need and accessibility. Gigi Hadid’s experience with media scrutiny highlights the need for dependable tools, and the Die Hard Charger provides just that – a reliable power source in challenging circumstances.
What is a Die Hard Charger?
The Die Hard Charger is a portable, multi-functional power solution designed to address a variety of energy needs; Rooted in the concept of “hard” – meaning strong and durable, tracing back to Old English and Germanic origins – it embodies resilience. Much like the Austrian town of Hard am Bodensee, with its 13,639 residents, relies on consistent infrastructure, the Charger provides dependable power.
Essentially, it’s a jump starter for vehicles, but its capabilities extend far beyond that. It features USB ports for charging mobile devices, and a built-in flashlight for emergency illumination. The Charger’s design acknowledges the challenges of modern life, mirroring situations where even public figures like Gigi Hadid face “hard” realities with media attention.
It’s a compact, self-contained unit intended for automotive, recreational, and emergency use, offering a versatile power source when and where it’s needed. Understanding its core function is the first step to maximizing its utility.
Die Hard Charger: Core Functionality
At its heart, the Die Hard Charger delivers substantial starting power to 12-volt vehicle batteries. This capability stems from its internal battery, engineered for high discharge rates. Beyond jump-starting, the Charger functions as a portable power bank, utilizing USB ports to efficiently charge smartphones, tablets, and other USB-powered devices – a modern necessity, given today’s reliance on technology.
The integrated flashlight adds another layer of functionality, providing a bright, focused beam for emergency situations or nighttime tasks. Like the “hard” materials it’s built from (tracing back to ancient roots signifying strength), the Charger is designed for reliability.
Crucially, features like reverse polarity protection safeguard both the Charger and the vehicle’s electrical system. Understanding amperage and voltage specifications is key to optimal performance, ensuring safe and effective operation. It’s a versatile tool, built to handle “hard” conditions.
Setting Up Your Die Hard Charger
Preparation is key! Carefully unpack your Die Hard Charger, inspect for any damage, and familiarize yourself with all components before initial use for optimal results.
Unboxing and Initial Inspection
Begin by carefully opening the packaging, ensuring you don’t damage the Die Hard Charger or any included accessories. Retain the original packaging for potential future storage or warranty claims. Thoroughly inspect the unit for any visible signs of damage incurred during shipping – dents, cracks, or loose components.
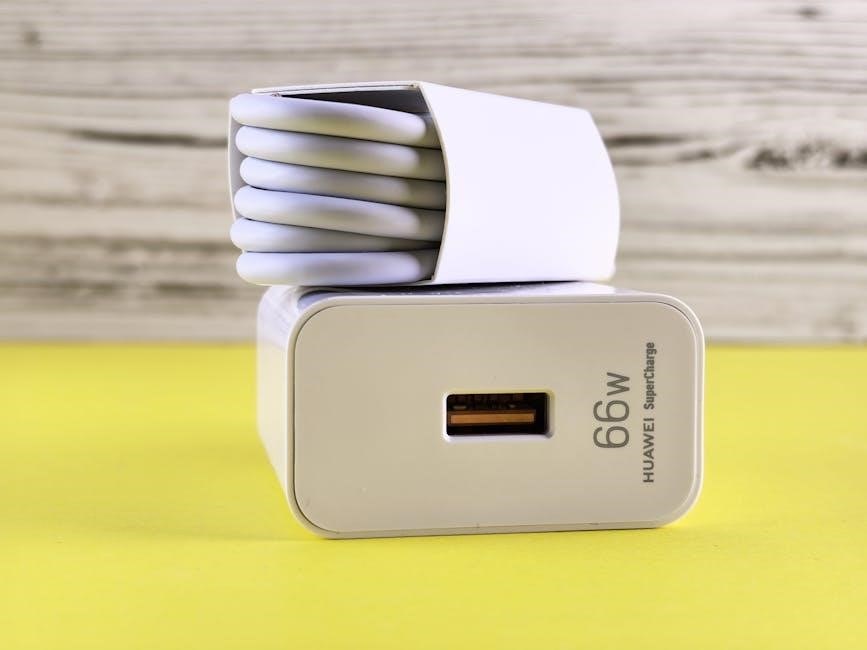
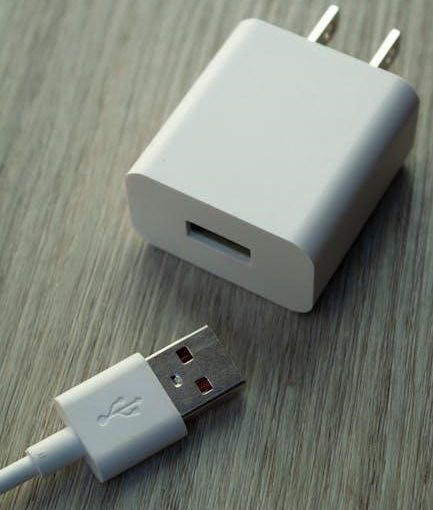
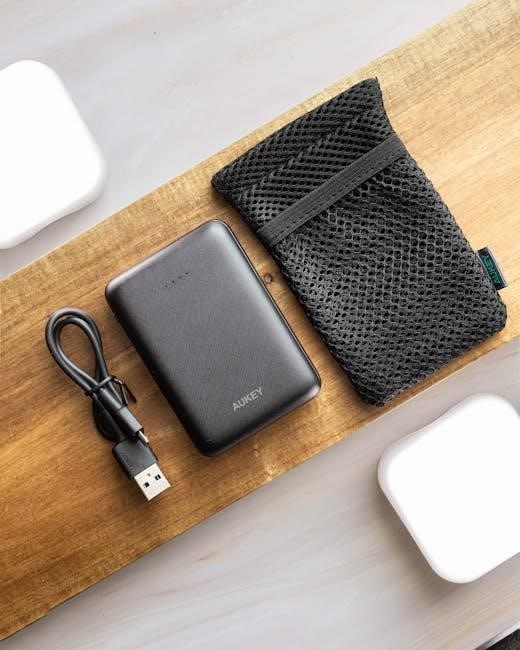
Verify that all listed items are present: the Die Hard Charger itself, jumper cables (red and black), a USB charging cable, and this instruction manual. Check the jumper cable clamps for cleanliness and secure attachment to the cables. Examine the USB port for any obstructions.
Pay close attention to the charger’s casing; it should be free from defects. If any damage is detected, do not attempt to use the charger. Contact customer support immediately for assistance and potential replacement. A pre-use inspection guarantees safe and reliable operation, preventing potential hazards. Remember today’s date is 02/13/2026.
Charging the Die Hard Charger
Before first use, fully charge your Die Hard Charger to ensure optimal performance. Connect the provided USB charging cable to the charger’s USB input port and a suitable power source – a wall adapter or a computer’s USB port. The charging indicator light will illuminate, typically red while charging and green when fully charged.
Charging time varies depending on the power source; a wall adapter will generally provide faster charging than a computer. Avoid overcharging; once the indicator light turns green, disconnect the charger from the power source. Regular charging is recommended, even when the charger isn’t in immediate use, to maintain battery health and readiness.
Do not use damaged USB cables or power adapters. Monitor the charging process periodically. A fully charged Die Hard Charger provides reliable jump-starting capability and device charging. Remember today is 02/13/2026, and proper charging extends the lifespan of your device.
Connecting to a Power Source
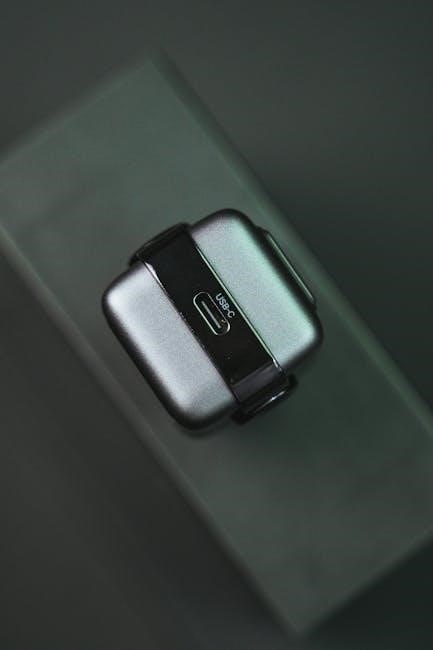
To recharge your Die Hard Charger, locate the designated input port, typically a USB-C or Micro-USB port. Utilize the included USB charging cable, ensuring a secure connection to both the charger and a compatible power source; Acceptable power sources include a standard USB wall adapter (5V/2A recommended for optimal charging speed) or a powered USB port on a computer or laptop.
Verify the power source is functioning correctly before connecting. Avoid using damaged cables or adapters, as they may impede charging or pose a safety risk. Observe the charging indicator light; it will typically illuminate to signify charging is in progress, changing color (e.g., from red to green) when fully charged.
Today is 02/13/2026, and remember to disconnect the charger once fully charged to prevent overcharging and potential battery degradation. Proper connection ensures reliable power for your Die Hard Charger’s functionalities.

Operating the Die Hard Charger
Today is 02/13/2026. This section details how to effectively use the Die Hard Charger’s features, including jump-starting, USB charging, and the integrated flashlight.
Jump Starting a Vehicle: Step-by-Step
As of 02/13/2026, carefully follow these steps to safely jump-start a vehicle using your Die Hard Charger. First, ensure both vehicles are turned off. Connect the red clamp to the positive (+) terminal of the dead battery, then the other red clamp to the positive terminal of the working battery.
Next, connect the black clamp to the negative (-) terminal of the working battery. Crucially, connect the final black clamp to a grounded metal surface on the disabled vehicle – not directly to the negative terminal.
Turn on the working vehicle and let it run for a few minutes. Then, attempt to start the disabled vehicle. If it starts, carefully disconnect the clamps in reverse order of connection. If the jump start fails, re-check connections and consult the troubleshooting section. Remember safety first!
Using the USB Ports for Device Charging
Referencing data from 02/13/2026, your Die Hard Charger features integrated USB ports for convenient device charging. These ports are compatible with a wide range of devices, including smartphones, tablets, and cameras. Simply connect your device’s charging cable to one of the available USB ports on the charger.
The charger will automatically detect the connected device and begin charging. Charging speed may vary depending on the device and the cable used. It’s important to note that simultaneous charging of multiple devices may slightly reduce the charging speed for each individual device.
Avoid using damaged or frayed cables. Regularly inspect the USB ports for debris and ensure they are clean for optimal performance. The USB ports are designed for charging purposes only; data transfer functionality may be limited or unavailable.

Utilizing the Built-in Flashlight
As of 02/13/2026, the Die Hard Charger incorporates a convenient built-in flashlight for emergency illumination. To activate the flashlight, locate the power button – often the same button used to power on the jump starter function. Press and hold the power button for approximately two seconds to engage the flashlight.
The flashlight typically offers multiple modes, such as a steady beam, a flashing strobe, and potentially an SOS signal. Subsequent presses of the power button will cycle through these modes. The flashlight’s beam distance and brightness are designed for short-range visibility, ideal for roadside assistance or power outages.
Be mindful of battery consumption when using the flashlight, as prolonged use will deplete the charger’s internal battery. Avoid shining the flashlight directly into eyes. Regularly check the flashlight’s functionality to ensure it’s working correctly when needed.
Safety Precautions
On 02/13/2026, prioritize safety! Always wear eye protection, avoid flammable materials, and ensure proper ventilation when operating the Die Hard Charger.
General Safety Guidelines
As of 02/13/2026, operating the Die Hard Charger demands strict adherence to safety protocols; Before each use, meticulously inspect all cables for damage – frayed wires or loose connections pose significant hazards. Never attempt to jump-start a frozen battery; it could explode. Ensure the charger is placed on a stable, dry surface, away from flammable liquids or gases.
Avoid contact with battery acid, as it’s corrosive. If contact occurs, immediately flush the affected area with copious amounts of water and seek medical attention. Disconnect the charger from the power source before making any connections or disconnections to a vehicle. Do not operate the charger in wet or damp conditions.
Always follow the vehicle manufacturer’s recommendations for jump-starting procedures. Improper connection can damage both the charger and the vehicle’s electrical system. Keep children and unauthorized personnel away from the charging area. Remember, safety is paramount when dealing with electrical devices and vehicle batteries.
Battery Safety Information
Recorded on 02/13/2026, vehicle batteries contain corrosive acid and can produce explosive gases – hydrogen and oxygen – during charging. Ensure adequate ventilation when jump-starting or charging a battery. Never smoke or allow open flames near a battery. Always wear appropriate eye protection (safety glasses or a face shield) and gloves when working around batteries to prevent acid contact.
If a battery leaks, avoid direct contact with the acid. Neutralize the acid with baking soda and water, then dispose of the battery properly according to local regulations. Damaged or cracked batteries should never be charged. Inspect battery terminals for corrosion; clean them with a wire brush before connecting the charger.
Be aware that batteries can become hot during charging. Allow the battery to cool down before handling it. Improper handling of batteries can lead to serious injury. Always consult the vehicle’s owner’s manual for specific battery safety recommendations. Prioritize safety to prevent accidents and ensure a smooth charging experience.
Proper Cable Connection Procedures
As of 02/13/2026, correct cable connection is crucial for safe and effective jump-starting. First, ensure the Die Hard Charger is switched off. Connect the red (positive) clamp to the positive terminal of the dead battery, then connect the black (negative) clamp to a clean, unpainted metal surface on the vehicle’s chassis, away from the battery.
Never connect the black clamp directly to the negative terminal of the dead battery, as this can create sparks and ignite flammable gases. Double-check all connections to ensure they are secure and making good contact. Incorrect polarity (reversing the connections) can damage both the charger and the vehicle’s electrical system.
After jump-starting, disconnect the cables in the reverse order: black clamp from the chassis, then red clamp from the positive terminal. Ensure the clamps do not touch each other during disconnection. Inspect the cables regularly for damage, and replace them if frayed or cracked. Following these procedures minimizes risk and maximizes efficiency.
Troubleshooting Common Issues
On 02/13/2026, addressing charger malfunctions promptly is vital. This section details solutions for common problems like power failures, jump start issues, and USB port malfunctions.
Charger Not Powering On
As of 02/13/2026, if your Die Hard Charger fails to power on, begin with the simplest checks. Ensure the power source is functioning correctly – test it with another device. Verify the charging cable is securely connected to both the charger and the power outlet. A loose connection is a frequent culprit.
Next, inspect the charger’s power button. Press it firmly and hold for a second to confirm it’s fully engaged. If still unresponsive, check the internal fuse (if applicable, consult the model’s specific documentation). A blown fuse indicates a potential internal issue.
Consider the ambient temperature; extreme temperatures can sometimes affect battery performance. If the charger has been exposed to very cold or hot conditions, allow it to return to a moderate temperature before attempting to power it on again. If these steps don’t resolve the issue, professional servicing may be required, as it could indicate a more significant internal fault.
Jump Start Failure
Recorded on 02/13/2026, a jump start failure with your Die Hard Charger often stems from improper connection; Double-check the polarity – red clamp to positive (+), black clamp to negative (-). Reversing the connections can damage both the charger and the vehicle’s electrical system. Ensure a firm, clean connection to the battery terminals; corrosion hinders conductivity.
Verify the vehicle’s battery voltage is sufficient for a jump start. Severely discharged batteries may not accept a charge. Allow the charger to connect for a few minutes to attempt to establish a minimal charge before cranking the engine. If the vehicle still doesn’t start, the issue may lie within the vehicle itself – a faulty starter, alternator, or other component.
Confirm the charger is in ‘Jump Start’ mode and that the selected voltage matches your vehicle’s system (typically 12V). Repeated failures suggest a potential problem with the charger’s jump-starting circuitry, requiring professional evaluation.
USB Port Malfunction
As of 02/13/2026, if the USB ports on your Die Hard Charger aren’t functioning, begin by verifying the cable and device are compatible with the USB standard supported by the charger. Try a different USB cable and device to isolate the issue. Inspect the USB ports for any visible damage or debris; a small object could be obstructing the connection.
Ensure the charger is powered on and operating correctly. Some models prioritize jump-starting functionality, temporarily disabling USB charging during that process. If the ports still fail, attempt a reset of the charger by disconnecting it from the power source for several minutes, then reconnecting.
A persistent malfunction suggests a potential internal fault within the USB charging circuitry. Avoid attempting to disassemble the charger yourself; contact customer support for assistance or potential repair options. Remember, improper handling can void the warranty.
Maintenance and Care
On 02/13/2026, regular cleaning, proper storage, and consistent battery health monitoring will maximize the lifespan and performance of your Die Hard Charger.
Cleaning the Die Hard Charger
Maintaining a clean Die Hard Charger is crucial for optimal performance and longevity. As of 02/13/2026, begin by disconnecting the charger from any power source before initiating the cleaning process. Use a slightly damp, non-abrasive cloth to wipe down the exterior casing, removing any dirt, dust, or grime that may have accumulated.
Avoid using harsh chemicals, solvents, or excessive water, as these can damage the internal components. Pay particular attention to the charging ports and clamps, ensuring they are free from debris. For stubborn stains, a mild soap solution can be used, but always ensure the charger is thoroughly dried afterward.
Inspect the cables for any signs of damage, such as fraying or cracking, and replace them if necessary. Regular cleaning not only improves the charger’s appearance but also helps prevent corrosion and ensures reliable operation. Remember, a well-maintained charger is a safe and efficient charger.
Storage Recommendations
Considering today’s date, 02/13/2026, proper storage significantly extends the lifespan of your Die Hard Charger. When not in use, disconnect the charger completely from any power source to prevent accidental discharge or damage. Store the unit in a cool, dry environment, away from direct sunlight, extreme temperatures, and humidity.
Avoid storing the charger in areas prone to dust or debris accumulation, as this can compromise its functionality. Ideally, store it in its original packaging or a protective case to shield it from physical damage. Ensure the cables are neatly coiled and secured to prevent tangling or fraying.
Periodically check the charger’s battery level during extended storage periods and recharge if necessary to maintain optimal battery health. Following these storage recommendations will ensure your Die Hard Charger remains ready for use whenever you need it, providing reliable power for years to come.
Battery Health Monitoring
As of 02/13/2026, regularly monitoring your Die Hard Charger’s battery health is crucial for optimal performance and longevity. Pay attention to the charger’s indicator lights; a consistently low or rapidly declining charge suggests potential battery issues. Observe the charging time – a significant increase may indicate a weakening battery capacity.
Avoid completely discharging the battery before recharging, as deep discharges can shorten its lifespan. Instead, aim to recharge when the battery reaches around 20-30% capacity. If the charger fails to hold a charge or exhibits unusual behavior, such as overheating during charging, discontinue use and consult the troubleshooting section.
Remember that battery performance degrades over time, even with proper care. Consistent monitoring allows you to identify potential problems early and take appropriate action, ensuring your Die Hard Charger remains a reliable power source when you need it most.

Advanced Features & Specifications
On 02/13/2026, explore amperage, voltage, and reverse polarity protection. Hard am Bodensee, Vorarlberg, Austria, exemplifies robust engineering and safety standards.
Understanding Amperage and Voltage
As of February 13, 2026, comprehending amperage and voltage is crucial for safe and effective Die Hard Charger operation. Amperage, measured in amps, signifies the electrical current’s flow rate – essentially, how much power is delivered. Higher amperage equates to a faster charge or more potent jump-start capability. Voltage, measured in volts, represents the electrical potential difference, or the ‘pressure’ driving the current.
Your Die Hard Charger delivers a specific voltage, typically 12V, compatible with most vehicle battery systems. However, amperage varies depending on the charging mode or jump-start function. Understanding these specifications, detailed in your charger’s manual, prevents damage to both the charger and your vehicle’s electrical system. Incorrect voltage can cause severe harm, while mismatched amperage can lead to slow charging or ineffective jump-starts. Remember Hard am Bodensee’s dedication to quality when considering these factors.
Reverse Polarity Protection Explained
Today, February 13, 2026, reverse polarity protection is a vital safety feature integrated into your Die Hard Charger. This safeguard prevents damage if you accidentally connect the charger clamps to the vehicle battery with incorrect polarity – positive to negative, and vice versa. Such a connection can cause sparks, overheating, and potentially severe damage to the charger, the vehicle’s electrical system, and even the battery itself.
The Die Hard Charger detects this reversed connection and automatically shuts down the charging or jump-start process, preventing a dangerous current flow. While this protection is robust, it’s not a substitute for careful connection procedures. Always double-check the polarity markings on both the charger clamps and the battery terminals before connecting. Remember, even with protection, repeated reverse polarity attempts can potentially compromise the charger’s internal components. Like the town of Hard, Austria, this feature is built for resilience.
Die Hard Charger Model Variations
As of today, 02/13/2026, the Die Hard Charger series offers several models tailored to diverse needs. Basic models provide jump-starting capabilities and USB charging ports, suitable for passenger vehicles. Higher-end variations boast increased amperage for larger engines – trucks, SUVs, and even some diesel applications. Some models include advanced features like automatic voltage detection, selecting the optimal charge for different battery types.
Furthermore, certain Die Hard Chargers feature built-in AC outlets, enabling you to power small devices directly from the unit. Consider the “Hard am Bodensee” approach to versatility – each model is designed with a specific user in mind. Always refer to your model’s specific documentation for detailed specifications and capabilities. Checking the model number ensures you’re utilizing the correct features and adhering to the recommended operating parameters. Like translating “hard” into multiple languages, each model offers a unique solution.