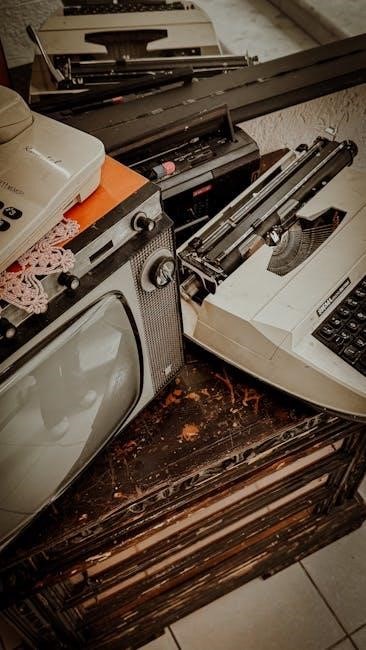
Seiki TV Manual: A Comprehensive Guide
This guide provides essential information for Seiki television owners, covering troubleshooting, parts replacement, and menu navigation.
Find assistance with common issues and learn how to maintain your Seiki TV for optimal performance.
ShopJimmy.com is a valuable resource for locating replacement parts, including LED backlight strips and T-Con boards, ensuring your TV’s longevity.
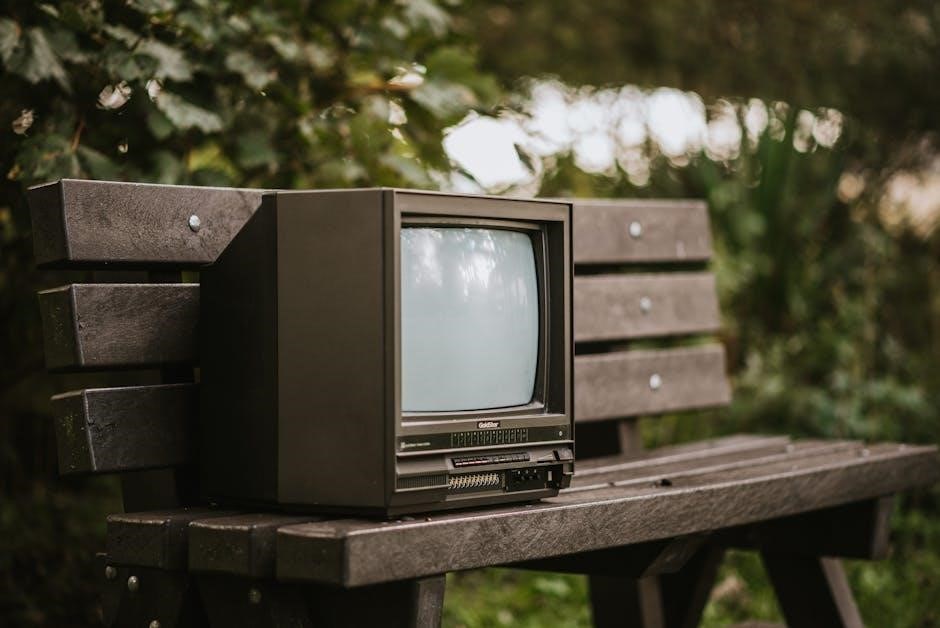
Seiki televisions, while offering a budget-friendly entry into the world of modern displays, often require a bit more user knowledge for maintenance and repair. Unlike some mainstream brands, accessing dedicated Seiki support can sometimes be challenging, making a comprehensive guide like this invaluable. This introduction aims to equip owners with the foundational understanding needed to navigate potential issues and prolong the life of their Seiki TV.
Historically, Seiki focused on providing affordable options, frequently utilizing panels sourced from other manufacturers. This approach, while cost-effective, means that parts compatibility and specific troubleshooting steps can vary significantly between models. Therefore, accurately identifying your TV’s model number is paramount – a crucial step detailed later in this manual.
Understanding the common components, such as LED backlight strips and T-Con boards, is also key. These parts, readily available through retailers like ShopJimmy.com, are frequent points of failure and often manageable for DIY repairs. This guide will delve into these areas, providing practical advice and resources for Seiki TV owners.
Understanding Seiki TV Models
Seiki’s television lineup historically encompassed a range of sizes and resolutions, from standard HD to 4K Ultra HD. However, a key characteristic of Seiki models is their reliance on panels sourced from various manufacturers, leading to internal component variations even within seemingly similar TVs. This diversity necessitates precise identification when seeking repair information or replacement parts.
Early Seiki models often featured a more limited smart TV functionality compared to contemporary brands. Later iterations incorporated more robust smart platforms, but compatibility and software updates could be inconsistent. Knowing your model’s year of manufacture and original operating system is therefore crucial for troubleshooting software-related issues.
When researching parts, such as LED backlight strips or T-Con boards (available at retailers like ShopJimmy.com), always prioritize searching by the exact model number. Generic parts may not fit or function correctly due to these internal variations. The model number is typically found on a sticker on the back of the TV, within the TV’s menu settings, or in the original documentation.
Locating Your Seiki TV Model Number
Identifying your Seiki TV’s model number is paramount for accessing the correct manual, troubleshooting guides, and replacement parts. This unique identifier unlocks specific information tailored to your television’s hardware and software configuration.
The most reliable location for the model number is a sticker affixed to the back of the TV. Carefully inspect the rear panel; the number is usually printed in a prominent location, often near the power input or other ports. It’s typically a combination of letters and numbers.
Alternatively, you can often find the model number within the TV’s on-screen menu. Navigate to the “Settings” or “About” section – the exact path varies depending on the model – and look for an “Model Number” or “TV Information” entry. If you acquired the TV as a gift and lack the original packaging, this method is particularly useful.
ShopJimmy.com emphasizes the importance of using the exact model number when searching for parts, ensuring compatibility and a successful repair.
Accessing the Seiki TV Manual Online
While a physical manual may have been included with your Seiki TV, accessing it online offers convenience and ensures you have the latest version. Unfortunately, Seiki’s official website no longer provides direct access to downloadable manuals for many older models.
However, resourceful users can often find manuals through third-party websites and online forums dedicated to TV repair. Websites like JustAnswer (as of March 31, 2018) may host archived manuals or provide access to experts who can assist in locating the correct documentation.
When searching online, be sure to have your TV’s precise model number readily available. This will significantly narrow your search and increase the likelihood of finding the correct manual. Generic manuals may not accurately reflect your TV’s specific features and settings.
Remember that ShopJimmy.com recommends referencing the model number for accurate part identification, and this applies to manual searches as well, ensuring you have the right information.
Common Seiki TV Issues and Troubleshooting
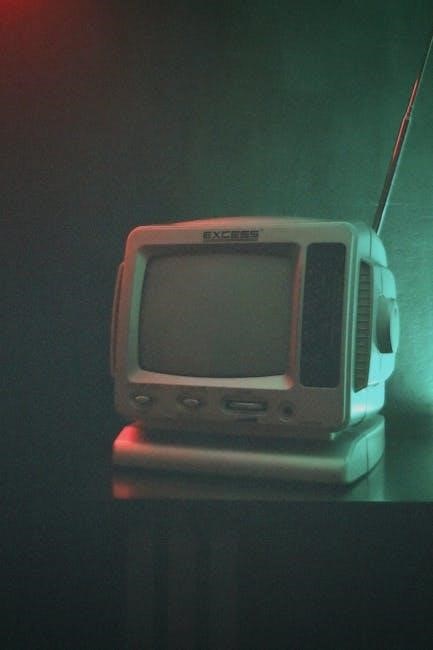
Seiki TVs, like all electronics, can experience various issues. Common problems include a complete lack of power, picture distortions (like no image or a fragmented display), and sound malfunctions – ranging from no audio to distorted sound. Remote control failures are also frequently reported.
Troubleshooting often begins with basic checks: ensure the TV is plugged in securely, test a different power outlet, and verify the power cord isn’t damaged. For picture problems, check the input source and cable connections. Sound issues may stem from incorrect volume settings or muted audio.
If these simple steps don’t resolve the issue, the problem may require more in-depth investigation. This could involve inspecting internal components like the power supply board, T-Con board, or LED backlight strips – common replacement parts available at retailers like ShopJimmy.com.
Remember to prioritize safety when attempting any internal repairs and consult a qualified technician if you’re uncomfortable performing the work yourself.
No Power Issues
A Seiki TV failing to power on is a common concern, often stemming from simple causes. First, meticulously check the power cord connection at both the TV and the wall outlet. Try a different outlet to rule out a faulty power source. Inspect the power cord itself for any visible damage, such as cuts or fraying.
If the outlet and cord are functioning correctly, the issue may lie within the TV’s internal power supply board. This board converts AC power to DC power needed by the TV’s components. A failing power supply is a frequent cause of no-power situations.
Before attempting any internal repairs, ensure the TV is unplugged for safety. Identifying the correct replacement power supply board is crucial; ShopJimmy.com offers a wide selection of Seiki TV parts. If you’re uncomfortable with internal repairs, consult a qualified TV technician.
Remember, a complete lack of power often indicates a problem with the power supply, but a blown fuse is also a possibility.
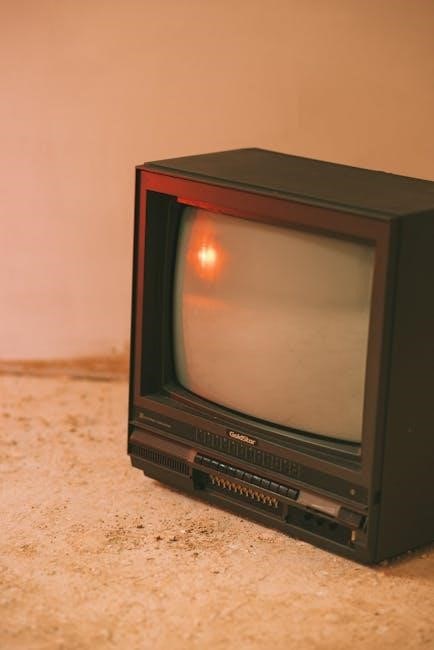
Picture Problems (No Image or Distorted Image)
Experiencing a blank screen or distorted images on your Seiki TV can be frustrating. Begin by verifying the input source is correctly selected using the TV’s remote. Ensure the connected device (cable box, Blu-ray player, etc.) is powered on and functioning properly.
If the input is correct, the issue might be with the T-Con board, responsible for processing video signals and sending them to the LCD panel. A faulty T-Con board can cause various picture issues, including no image, distorted colors, or vertical lines.
LED backlight failures are another common culprit, resulting in a very dim or completely dark screen. Replacing the LED backlight strips, available at retailers like ShopJimmy.com, can often restore picture clarity.
Before attempting repairs, unplug the TV. Identifying the correct T-Con board or LED strips for your specific Seiki model is essential. If you lack experience, seeking professional assistance is recommended.
Sound Issues (No Sound or Distorted Sound)
Encountering sound problems with your Seiki TV can range from complete silence to distorted audio. First, confirm the volume isn’t muted and is set to an audible level using the remote control. Check the audio settings within the TV’s menu to ensure the correct sound mode is selected – options often include Standard, Movie, or Music.
Verify the audio output settings are appropriate for your setup. If using external speakers or a soundbar, ensure the TV is configured to output audio via the correct connection (HDMI ARC, Optical, or RCA). Test with headphones to determine if the issue lies with the TV’s internal speakers.
Distorted sound can sometimes indicate a problem with the TV’s internal amplifier or sound processing circuitry. While less common, a failing power supply board can also contribute to audio issues.
If problems persist, consult the Seiki TV manual for specific troubleshooting steps related to your model. Professional repair may be necessary for internal component failures.
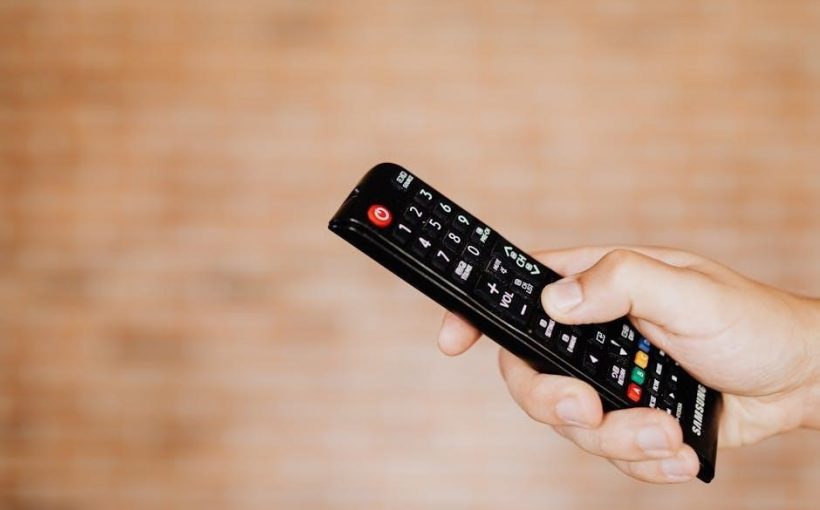
Remote Control Problems
A non-responsive remote control is a frequent issue with Seiki TVs. Begin with the simplest solutions: replace the batteries with fresh ones, ensuring correct polarity. Aim the remote directly at the TV’s infrared (IR) sensor, typically located on the front panel, and ensure there are no obstructions.
Test the remote’s functionality using a smartphone camera; if the remote emits a visible light when a button is pressed, it’s likely transmitting a signal. If not, the remote itself may be faulty. Try resetting the remote by removing the batteries for several minutes, then reinserting them.
Interference from other devices can sometimes disrupt the remote’s signal. Move any potential sources of interference, such as fluorescent lights or other electronic devices, away from the TV.
If the remote remains unresponsive, consider a universal remote as a replacement. Refer to your Seiki TV manual for programming instructions or explore online resources for compatible universal remote codes.
Seiki TV Parts and Replacement
Replacing faulty parts is often more cost-effective than purchasing a new Seiki TV. Identifying the correct part is crucial for a successful repair. ShopJimmy.com is a dedicated online retailer specializing in Seiki TV parts, offering a wide selection of components.
Always search by the exact part number, typically found on the original component itself. If the part number is unavailable, use your TV’s model number to narrow down the options. Common replacement parts include LED backlight strips, T-Con boards, and power supply boards.
LED backlight strips frequently fail, resulting in a dim or completely dark screen. T-Con boards control the timing and voltage to the LCD panel, and issues can manifest as distorted images. Power supply boards provide power to all TV components, and failures can cause the TV to not power on at all.
When ordering parts, verify compatibility with your specific Seiki TV model to ensure a proper fit and function.
Finding Replacement Parts (ShopJimmy Example)
ShopJimmy.com stands out as a premier online destination for sourcing Seiki TV replacement parts. Their extensive catalog includes components for numerous Seiki models, catering to common repair needs. Searching by exact part number is highly recommended for accuracy, ensuring you receive the correct component.
If the part number is unknown, you can utilize the TV model number, easily located on the back of the unit, in the owner’s manual, or within the TV’s settings menu. ShopJimmy offers filters to refine your search, streamlining the process.
Currently, they stock items like LED backlight strips (e.g., SKU: sj-303TH600032, previously $90.94, now $64.99), T-Con boards (SKU: sj-35-D076641, priced at $19.99), and various LED strips for Element, Seiki, and Westinghouse TVs (SKU: sj-IC-A-CNA050D173R/IC-A-CNA050D173L, now $19.99).
ShopJimmy boasts same-day shipping for orders placed before 4 PM CT, and often provides substitute part options when available.
LED Backlight Strips – Common Replacements
LED backlight strips are frequently required replacements in Seiki TVs, as they are susceptible to failure over time, resulting in dim displays or complete backlight loss. These strips provide the illumination for the LCD panel, and when they fail, the picture becomes difficult or impossible to see.
Identifying the correct strip is crucial; variations exist based on TV model and screen size. ShopJimmy.com offers a wide selection, emphasizing the importance of searching by the exact part number printed on the existing strip. Common examples include the sj-303TH600032 strip, compatible with certain Sharp and Seiki models.
Replacing these strips often involves disassembling the TV’s rear panel, carefully disconnecting the old strip, and connecting the new one. Multiple strips may be needed depending on the TV’s size and design. Always ensure the TV is unplugged before attempting any repairs.
Availability and pricing fluctuate, with ShopJimmy frequently offering discounted prices on these essential components.
T-Con Boards and Their Function
The T-Con (Timing Control) board is a vital component within Seiki TVs, acting as the intermediary between the main board and the LCD panel. It receives video signals from the main board and translates them into instructions for the LCD panel’s pixels, controlling image display.
When the T-Con board fails, symptoms often include distorted images, lines on the screen, or a complete lack of picture, even if the backlight is functioning. ShopJimmy.com provides replacement T-Con boards, stressing the importance of using the correct part number for a successful repair.
A common example is the Samsung 35-D076641-V320HJ2-CPE2 board, compatible with various Samsung and potentially some Seiki models. Replacing the T-Con board typically involves carefully disconnecting it from the LCD panel and main board, then installing the new board.
Proper handling is essential to avoid damaging the delicate connectors. Availability and pricing vary, making ShopJimmy a useful resource for finding suitable replacements.
Power Supply Boards – Identifying Issues
The power supply board in a Seiki TV distributes electricity to all internal components. Identifying issues with this board is crucial, as it can cause a range of problems, from a complete lack of power to intermittent shutdowns or flickering screens.
Common symptoms of a failing power supply board include the TV not turning on, a standby light illuminating but no picture, or clicking sounds emanating from the TV. Visual inspection can reveal blown fuses or bulging capacitors, indicating a problem.
However, diagnosing power supply issues often requires a multimeter to test voltages. Safety is paramount when working with the power supply, as it deals with potentially lethal voltages. ShopJimmy.com offers replacement power supply boards, emphasizing the need for the correct part number.
Replacing the board involves disconnecting it from all power sources and carefully removing and installing the new unit. Always discharge any residual electricity before handling.
Seiki TV Menu Navigation and Settings
Navigating the Seiki TV menu allows users to customize their viewing experience and adjust various settings. Accessing the menu is typically done via the remote control, utilizing a dedicated “Menu” or “Settings” button. The menu structure can vary slightly depending on the specific Seiki TV model.
Common settings include Picture Mode (adjusting brightness, contrast, and color), Sound Mode (equalizer settings and audio output options), and Channel settings (auto-tuning and program editing). Network settings are also available on smart TV models, enabling Wi-Fi connectivity and access to streaming apps.
Users can also adjust input sources, parental controls, and system settings like language and time. Familiarizing yourself with the menu layout and available options is key to optimizing your Seiki TV’s performance. Refer to your specific model’s manual for detailed instructions.
Remember to save any changes made within the menu to ensure they are applied.
Performing a Factory Reset on Your Seiki TV
A factory reset restores your Seiki TV to its original factory settings, erasing all personalized configurations, saved channels, and account information. This is a useful troubleshooting step for resolving software glitches or preparing the TV for resale.
The process typically involves accessing the TV’s menu through the remote control. Navigate to “Settings,” then “System,” and finally, “Reset” or “Factory Reset.” Confirm your decision as this action is irreversible without restoring from a backup (if available).
Be aware that a factory reset will require you to re-enter your Wi-Fi password and re-configure your preferred settings. It’s recommended to note down any crucial settings before initiating the reset. The TV will restart automatically after the process is complete.
If you encounter difficulties accessing the reset option, consult your specific model’s manual for detailed instructions.
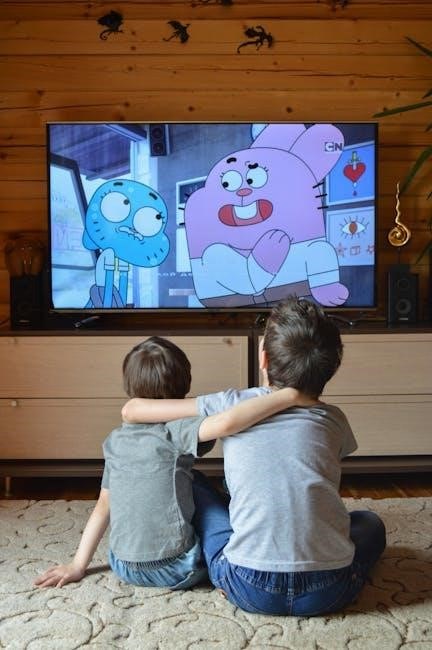
Connecting External Devices to Your Seiki TV
Your Seiki TV offers various ports for connecting external devices, enhancing your entertainment experience. Common connections include HDMI for Blu-ray players, gaming consoles, and streaming devices, providing both video and audio transmission.
USB ports allow you to connect flash drives or external hard drives to play media files directly on the TV. Older devices might utilize composite (RCA) or component connections, though these offer lower video quality.
To connect a device, simply plug the appropriate cable into the corresponding port on both the TV and the external device. Then, use the TV’s input source selection (often accessed via the “Input” or “Source” button on the remote) to choose the correct input for the connected device.
Ensure cables are securely connected for optimal signal transmission. Refer to your device’s manual for specific connection instructions.
Seiki TV Firmware Updates
Maintaining up-to-date firmware on your Seiki TV is crucial for optimal performance, stability, and access to new features. Firmware updates often address bugs, improve compatibility with external devices, and enhance the overall user experience.
Unfortunately, Seiki’s official support and update channels are limited, particularly for older or discontinued models. Checking the Seiki website for updates is a starting point, though availability may be inconsistent.
Some Seiki TVs may offer an automatic update feature within the TV’s settings menu. Navigate to the “System,” “Support,” or “About” section to check for available updates. Be cautious when attempting unofficial firmware updates, as incorrect installation can potentially damage your TV.
Regularly checking for updates, when possible, ensures your Seiki TV operates at its best. Consider exploring online forums and communities for user-reported update information.
Safety Precautions When Handling a Seiki TV
Handling a Seiki TV requires careful attention to safety to prevent injury and damage to the device. Always disconnect the TV from the power outlet before attempting any repairs or internal access. High voltage components can pose a serious electrical shock hazard, even when the TV is turned off.
Exercise caution when lifting and moving the TV, as it can be surprisingly heavy. Use a stable, flat surface and seek assistance if needed to avoid strains or drops. Avoid touching the screen directly, as it is fragile and susceptible to damage.
When replacing parts, such as LED backlight strips or T-Con boards, handle them with care and avoid static discharge. Wear appropriate protective gear, like gloves, to prevent skin contact with potentially hazardous materials. Dispose of old parts responsibly, following local regulations.
If you are uncomfortable performing any repairs yourself, consult a qualified TV technician.
Where to Find Additional Support for Seiki TVs
Finding reliable support for your Seiki TV is crucial for resolving issues and maximizing its lifespan. While Seiki is a discontinued brand, several resources remain available to assist owners.
ShopJimmy.com is an excellent source for replacement parts and often provides helpful troubleshooting advice related to common Seiki TV problems. Their website features a wide selection of components, including LED backlight strips and T-Con boards, alongside detailed product information.
Online forums and communities dedicated to TV repair can offer valuable insights and peer-to-peer support. Websites like JustAnswer (as of March 31, 2018) may contain archived questions and answers related to Seiki TVs.
YouTube tutorials can provide visual guidance for specific repairs. Consider searching for videos demonstrating the replacement of common parts. Remember to exercise caution and prioritize safety when attempting any DIY repairs.
Discontinued Seiki TV Models and Support
Seiki has discontinued its television production, presenting unique challenges for owners seeking support. Official manufacturer assistance is limited, but options remain for maintaining these TVs.
Despite the brand’s discontinuation, replacement parts are still accessible through specialized retailers like ShopJimmy.com. They stock components for various Seiki models, including LED backlight strips and T-Con boards, essential for common repairs.
Identifying your specific model number is vital when sourcing parts. This information is typically found on the TV’s rear panel, in the original manual, or within the TV’s settings menu.
Online repair communities and forums offer a platform for sharing knowledge and troubleshooting tips. Resources like JustAnswer (referenced as of March 31, 2018) may contain archived information relevant to older Seiki models. Remember to exercise caution with DIY repairs and prioritize safety.