Cluster Stitch Crochet: A Comprehensive Guide
Embark on a textured crochet journey! This guide details crafting beautiful cluster stitches, beginning with a half double crochet foundation chain – a multiple of 31 is key.
Understanding the Cluster Stitch
Delving into the heart of this technique, the cluster stitch isn’t a single stitch, but a grouping of stitches worked into the same stitch space. Typically, these groupings involve multiple half double crochets (hdc), though variations utilize double or treble crochet for increased height and texture. The foundation often begins with a chain, specifically a multiple of 31, setting the stage for consistent cluster formation.
The core principle revolves around working several hdc into a single stitch, then chaining one and repeating the hdc within that same stitch. This creates a raised, textured effect. Understanding this fundamental building block is crucial before attempting more complex variations. It’s a fantastic way to add dimension and visual interest to your crochet projects, offering a unique alternative to flat, traditional stitches.
What is a Crochet Cluster Stitch?
Essentially, a crochet cluster stitch is a decorative element created by working multiple crochet stitches – most commonly half double crochets – into the same stitch or stitch space. This creates a bundled, textured appearance, distinguishing it from standard, single-stitch rows. The initial setup often requires a foundation chain worked to a multiple of 31, ensuring even cluster placement throughout the project.
Following the foundation, a chain 1 turn initiates the first row, preparing for the cluster formation. The technique involves working (hdc, chain 1, hdc) into the same stitch repeatedly, building the characteristic cluster. This isn’t a single, defined stitch, but rather a method of grouping stitches for a unique visual and tactile effect, adding depth to blankets, scarves, and hats.
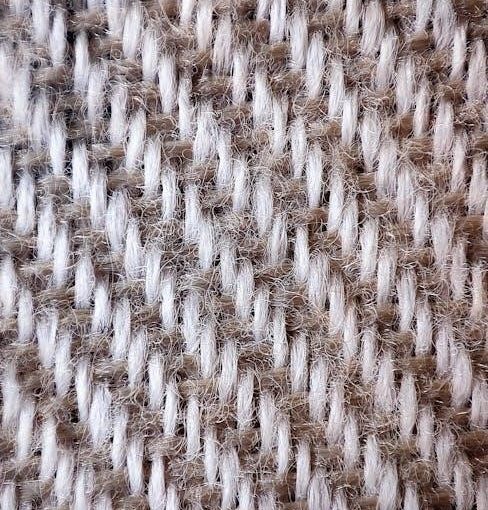
The Visual Appeal of Cluster Stitches
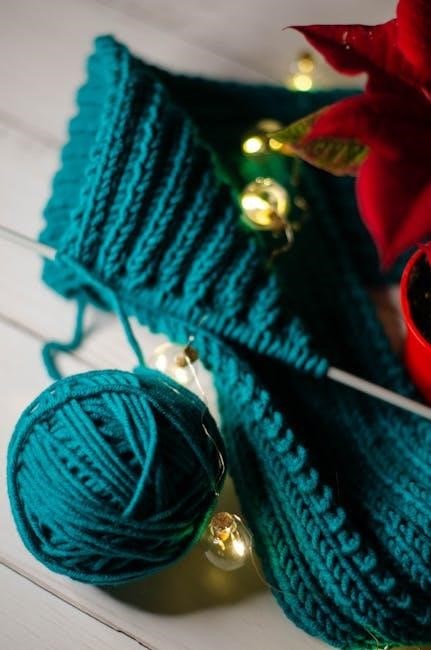
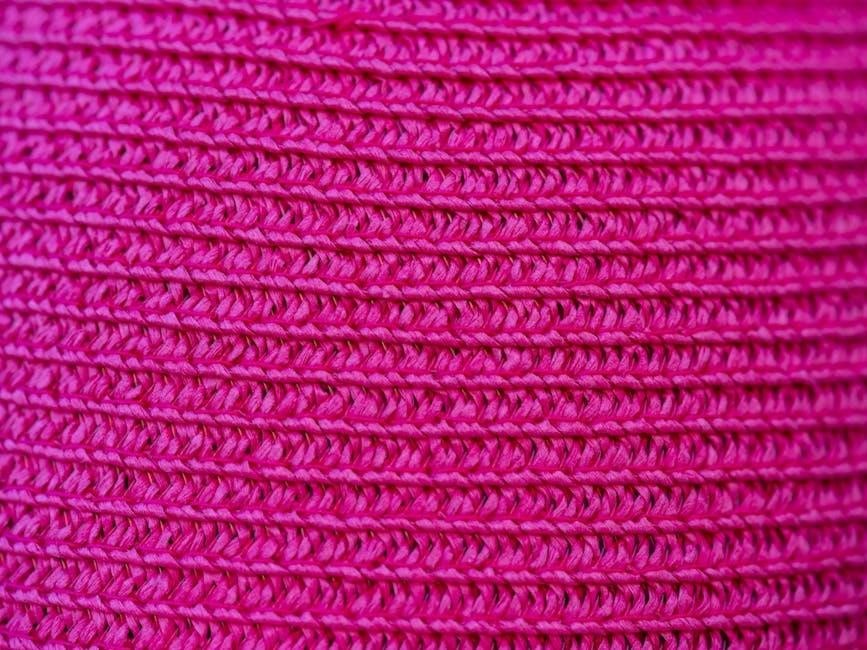
Cluster stitches offer a delightful textural dimension to crochet projects, moving beyond flat fabrics to create a raised, almost three-dimensional surface. The grouping of stitches – often half double crochets – forms distinct “clusters” that catch the light and shadow beautifully, enhancing the overall aesthetic. This makes them particularly appealing for blankets and scarves where tactile comfort is paramount.
The pattern, built upon a foundation chain (multiple of 31) and initiated with a chain 1 turn, allows for varied designs. Variations like mixed or offset clusters further amplify this visual interest. The resulting fabric isn’t just visually engaging; it’s also wonderfully soft and cozy, making cluster stitch projects incredibly satisfying to both create and enjoy.
Materials Needed for Cluster Stitch Crochet
Gather your supplies! You’ll need yarn, a crochet hook (size dependent on yarn weight), stitch markers, scissors, and a yarn needle for finishing touches.
Yarn Weight Recommendations
Choosing the right yarn is crucial for showcasing the cluster stitch’s texture. Worsted weight yarn (medium weight, #4) is an excellent starting point, offering good definition and ease of handling for beginners; It creates a fabric with noticeable clusters without being overly bulky.
However, don’t limit yourself! DK weight (light weight, #3) yarn will produce a lighter, more delicate fabric, ideal for scarves or baby blankets. For a bolder, quicker project, consider bulky weight (weight #5 or #6) yarn, though the clusters will be significantly larger and fewer in number.
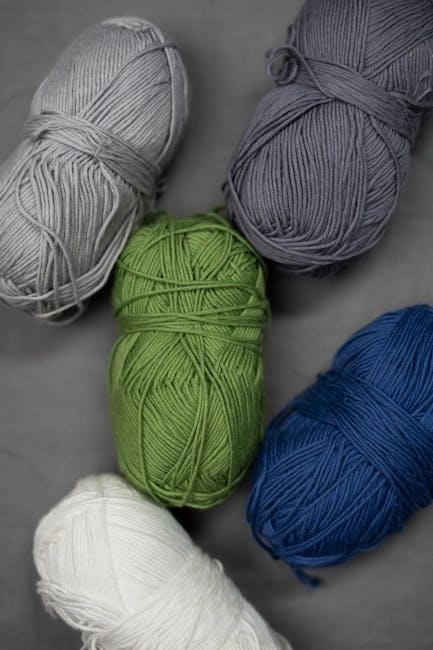
Fiber content also matters. Acrylic yarn is affordable and easy to care for, while cotton provides excellent stitch definition and breathability. Wool offers warmth and a beautiful drape. Experiment to find what best suits your project and personal preference!
Crochet Hook Size Guide
Selecting the appropriate crochet hook size is vital for achieving the desired look and feel of your cluster stitch project. Generally, a size H/8 (5.0 mm) hook pairs well with worsted weight yarn, creating a balanced fabric with well-defined clusters.
If using DK weight yarn, a size G/6 (4.0 mm) or F/5 (3.75 mm) hook is recommended for tighter stitches. Conversely, for bulky weight yarn, an L/11 (8.0 mm) or larger hook will be necessary to work the stitches comfortably.
Always check the yarn label for suggested hook sizes, but don’t hesitate to adjust based on your tension. A smaller hook creates denser fabric, while a larger hook results in a looser, more open weave. Swatching is highly recommended to determine the perfect hook size for your yarn and desired outcome!
Other Useful Tools (Stitch Markers, Scissors, Yarn Needle)
Beyond yarn and a hook, several tools enhance the cluster stitch crochet experience. Stitch markers are invaluable for marking the beginning or end of rows, or for identifying specific stitch placements within the cluster pattern – especially helpful for complex variations.
Sharp scissors are essential for cleanly cutting yarn, preventing fraying and ensuring neat edges. A yarn needle, also known as a tapestry needle, is crucial for weaving in loose ends securely, creating a polished finish to your project.
Consider a row counter to keep track of your progress, particularly for larger projects. These simple tools significantly streamline the process and contribute to a professional-looking final product!
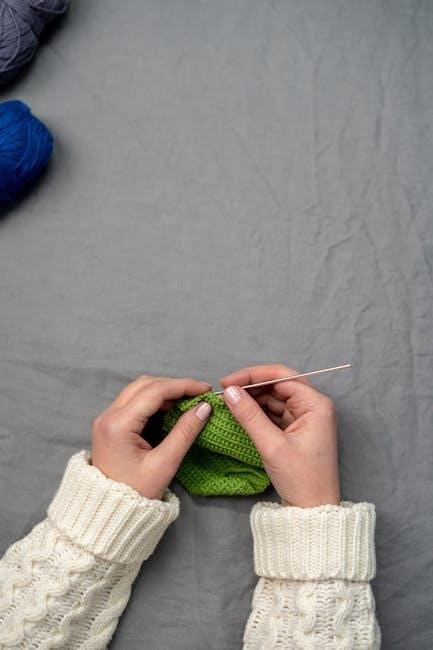
Basic Techniques & Foundations
Mastering the fundamentals is key! Begin with a foundation chain, then chain 1 to turn, and familiarize yourself with the half double crochet – the base stitch.
Creating a Foundation Chain (Multiple of 31)
The foundation chain sets the stage for your cluster stitch project. Accuracy here is crucial for a beautifully formed fabric. For this particular pattern, your starting chain must be a multiple of 31. This ensures the clusters align correctly throughout your work, preventing awkward gaps or distortions in the finished piece.
To begin, create a slip knot on your crochet hook. Then, yarn over and pull through to create your first chain. Continue chaining, counting carefully to reach your desired multiple of 31. For example, you could start with a chain of 31, 62, 93, or any other number divisible by 31.
Pro Tip: It’s always a good idea to add a few extra chains beyond your calculated multiple. This allows for turning chain and any potential adjustments needed in the first row. Don’t worry; these extra chains won’t affect the overall pattern!
Chain 1 Turn – Starting the First Row
After establishing your foundation chain, preparing for the first row is simple yet vital. Once you’ve completed your multiple of 31 chain, you’ll begin with a chain 1. This single chain does not count as a stitch; it serves solely as a turning chain, providing height for the first row of your cluster stitch pattern.
Following the chain 1, carefully turn your work. This means rotating your crochet so the back of your foundation chain is now facing you, ready to receive your first stitch. Turning ensures you work from right to left (or left to right, depending on your preference) in a consistent manner.
Important Note: Maintaining consistent tension throughout this initial step is key. A loose or tight turning chain can subtly affect the appearance of your clusters in subsequent rows.
Understanding Half Double Crochet (hdc) – The Base Stitch
The half double crochet (hdc) is the foundational stitch for many cluster stitch variations. Mastering it ensures a smooth and consistent fabric. To begin, yarn over your hook. Insert your hook into the designated stitch of your foundation chain (or previous row).
Yarn over again, and pull up a loop, leaving three loops on your hook. Then, yarn over once more and pull through all three loops on your hook. This completes one hdc stitch. Practice this stitch until it feels comfortable and your tension is even.
Key to Success: Consistent hdc stitches are crucial for uniform clusters. Pay attention to how deeply you insert your hook and maintain even yarn tension throughout each stitch. This will create a beautiful base for your cluster pattern!
Step-by-Step Instructions: Classic Cluster Stitch
Let’s begin creating the classic cluster! Start with a foundation, then chain one to turn, building rows with hdc stitches and repeating cluster patterns.
Row 1: Establishing the Pattern
Begin your cluster stitch journey with a solid foundation! After creating your initial foundation chain (remember, a multiple of 31!), you’ll start establishing the base for the beautiful texture to come. Chain 1, and then work a half double crochet (hdc) into each stitch across the entire chain.
This first row is crucial as it sets the stage for all subsequent rows and the formation of the clusters. Ensure your tension is consistent throughout this row; this will greatly impact the overall appearance of your finished project.
Take your time and focus on creating neat, even hdc stitches. Once you reach the end of the chain, you’ve successfully completed Row 1! Turn your work – you are now ready to begin building those lovely clusters in Row 2.
Row 2: Creating the First Clusters (hdc, ch 1, hdc in same stitch)
Now, let’s build those defining clusters! Chain 1 (this does not count as a stitch), then work a half double crochet (hdc) into the first stitch. This is followed by another hdc into the same stitch. Now, chain 1. This sequence – hdc, hdc in the same stitch, chain 1 – forms your first cluster.
Skip the next stitch, and repeat the cluster sequence (hdc, hdc in the same stitch, chain 1) in each stitch across the row. Continue this pattern until you reach the end of the row.
Remember to skip one stitch between each cluster. Turning your work at the end of Row 2 will reveal the beginnings of the textured pattern. Consistent cluster creation is key for a uniform look!
Row 3 & Beyond: Repeating the Cluster Pattern
Maintaining the rhythm is crucial! Chain 1 (does not count as a stitch). Now, work a hdc into the first stitch. Then, hdc into the same stitch, followed by a chain 1 – initiating your cluster. Skip the next stitch, and repeat the cluster sequence (hdc, hdc in the same stitch, chain 1) across the row.
Crucially, ensure you’re working the clusters into the spaces between the clusters from the previous row. This creates the defined, textured effect. Continue repeating this pattern for each subsequent row.
As you progress, observe how the cluster pattern emerges. Consistent tension will ensure even clusters and a beautiful fabric. Enjoy the meditative process of repeating this simple, yet effective, sequence!
Variations of the Cluster Stitch
Explore exciting possibilities! Discover textured stitches like the Mixed Cluster, diagonal Offset Cluster, and taller designs using double or treble crochet variations.
The Mixed Cluster Stitch – Adding Texture
Elevate your crochet with delightful texture! The Mixed Cluster Stitch introduces captivating depth to your projects, building upon the classic cluster foundation. This variation beautifully combines different crochet stitches within each cluster, creating a wonderfully dimensional fabric. Imagine a blanket boasting a rich, tactile surface – that’s the power of this stitch!
To achieve this effect, instead of solely using half double crochet within the cluster, incorporate single crochet or even double crochet stitches alongside them. Experiment with alternating stitch heights to further enhance the textured appearance. The key is to maintain a consistent pattern of mixed stitches within each cluster across your work.
This technique is perfect for blankets, cushions, or any project where you desire a visually interesting and cozy feel. The Mixed Cluster Stitch truly unlocks a new level of creativity in your crochet endeavors!
Offset Cluster Stitch – A Diagonal Effect
Create dynamic visual interest with a subtle shift! The Offset Cluster Stitch introduces a beautiful diagonal pattern to your crochet fabric, adding a modern and stylish touch. Unlike traditional cluster stitches aligned in neat rows, this variation strategically offsets each cluster in subsequent rows, resulting in a visually engaging texture.
To achieve this effect, begin by working your initial row of clusters as usual. In the following row, instead of placing the first cluster directly above the previous row’s cluster, shift it slightly – typically by one or two stitches. Continue this offset pattern throughout the row, and repeat it consistently in subsequent rows.
This technique is ideal for scarves, shawls, or blankets where you want a subtle yet striking design element. The Offset Cluster Stitch offers a unique twist on a classic technique!
Tall Cluster Stitch – Using Double or Treble Crochet
Elevate your texture with height and dimension! The Tall Cluster Stitch builds upon the foundation of the classic cluster, but utilizes taller stitches – double crochet (dc) or treble crochet (tr) – to create a more pronounced and dramatic effect. This variation adds significant texture and visual impact to your projects.
Instead of the half double crochet (hdc) used in the standard cluster, work your clusters using dc or tr stitches. The specific number of stitches within each cluster can be adjusted to control the overall height and density of the fabric. Experiment with combinations like (dc, ch 1, dc) or (tr, ch 1, tr) within each cluster.
This stitch is particularly well-suited for blankets, cushions, or garments where a bold, textured look is desired. It’s a fantastic way to add a luxurious feel to your crochet work!
Troubleshooting Common Issues
Maintain stitch consistency! Address uneven clusters by focusing on tension, and adjust stitch density to eliminate holes. Careful counting prevents errors.
Uneven Clusters – Maintaining Consistent Tension
Achieving uniform clusters hinges on consistent yarn tension. This is arguably the most frequent challenge for crocheters new to the cluster stitch. If your clusters appear sporadically larger or smaller, examine your tension throughout each stitch and row.
Ensure you aren’t pulling the yarn too tightly or leaving it too loose as you complete each half double crochet (hdc) within the cluster. A relaxed, even grip is crucial. Practice makes perfect; consciously focus on maintaining the same amount of yarn used for each hdc.
Periodically check the size of your clusters as you work. If you notice a discrepancy, gently adjust your tension on the subsequent stitches to compensate. Don’t be afraid to frog (undo) a few stitches if necessary to correct significant inconsistencies – a neat, even fabric is worth the effort!
Holes in the Fabric – Adjusting Stitch Density
Noticeable gaps within your cluster stitch fabric often indicate insufficient stitch density. This commonly arises from the chain-one spaces between clusters, or from loosely worked stitches themselves. To remedy this, consider a few adjustments to your technique.
Firstly, ensure you are working the half double crochet (hdc) stitches firmly, without excessive looseness. Secondly, experiment with using a crochet hook one size smaller than recommended for your yarn weight. This will naturally tighten the stitch definition.
Alternatively, you could add a border of single crochet around your finished piece to close any remaining gaps. Remember, the ideal stitch density depends on your project – blankets may benefit from a looser weave, while garments require a tighter fabric.
Counting Stitches – Avoiding Mistakes
Maintaining accurate stitch counts is crucial when working the cluster stitch, as errors can quickly distort the pattern and overall shape of your project. The repeating nature of the clusters makes it easy to lose track, especially during longer rows.
Utilize stitch markers strategically! Place one at the beginning of each row, and consider adding markers between each cluster, particularly in the initial rows, to visually delineate the pattern. Regularly pause and recount your stitches, comparing them to the established pattern multiple of 31.
Don’t be afraid to frog (rip out) rows if you discover a significant discrepancy. Correcting errors early prevents larger issues later. A consistent counting habit will ensure a beautifully formed and symmetrical cluster stitch creation.
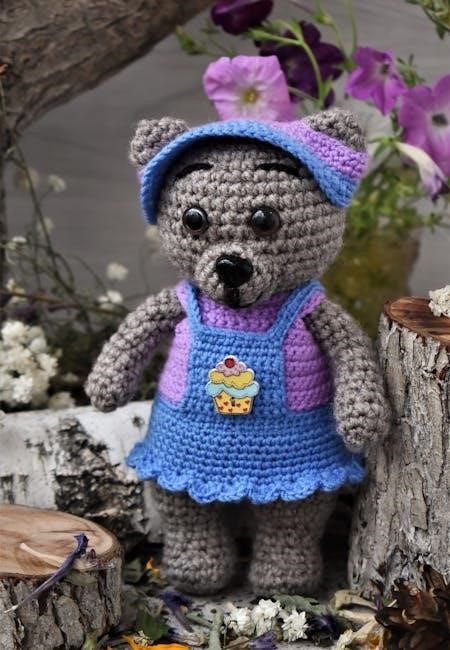
Project Ideas Using Cluster Stitch
Unleash your creativity! Explore textured blankets in eleven sizes, stylish scarves, and uniquely textured hats – all achievable with the versatile cluster stitch technique.
Cluster Stitch Blankets – Sizes and Yarn Quantities
Creating a cozy cluster stitch blanket is incredibly rewarding! Eleven different sizes are available, ranging from a small baby blanket to a generous king-size throw. For a baby blanket (36” x 48”), approximately 800-1000 yards of worsted weight yarn will be needed. A throw blanket (50” x 60”) requires around 1500-1800 yards.
Larger sizes, like a queen (90” x 90”) or king (108” x 108”), will demand significantly more yarn – approximately 3000-4000 yards and 4000-5000 yards respectively. Consider using a bulky or super bulky yarn for quicker results, adjusting hook size accordingly.
Always check the yarn label for yardage information and consider purchasing slightly more than estimated to avoid running out mid-project. Experiment with color changes within clusters for a visually stunning effect! Remember to account for potential variations in gauge when calculating yarn quantities.
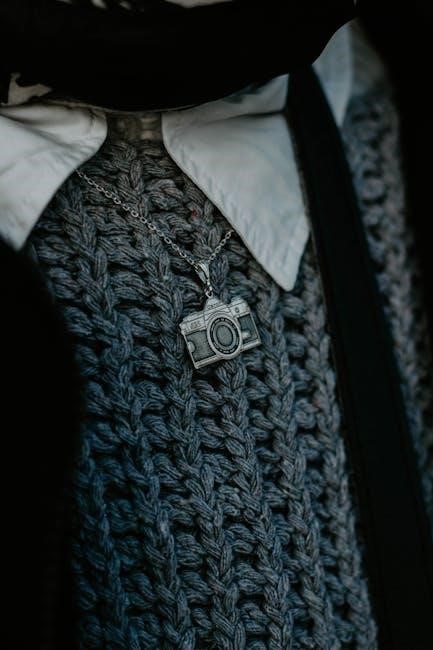
Cluster Stitch Scarves – Simple and Stylish
Crafting a cluster stitch scarf is a fantastic beginner-friendly project! The textured stitch adds visual interest without being overly complicated. A standard scarf size is approximately 6-8 inches wide and 60-72 inches long. For this size, you’ll likely need around 400-600 yards of worsted weight yarn.
Experiment with different yarn colors to create unique and personalized scarves. A single color can showcase the stitch definition beautifully, while variegated yarn adds a playful touch. Consider a slightly wider scarf (8-10 inches) for extra warmth and style.
The cluster stitch creates a lovely drape, making it perfect for scarves. Don’t be afraid to explore different color combinations and yarn textures to create a truly one-of-a-kind accessory!
Cluster Stitch Hats – Adding Texture to Headwear
Elevate your winter wardrobe with a textured cluster stitch hat! This project beautifully showcases the stitch’s depth and warmth. Begin by crocheting a magic circle, increasing stitches evenly to form the crown of the hat. Transition to working in rounds, incorporating the cluster stitch pattern for a cozy and stylish look.
A typical adult hat requires approximately 200-300 yards of worsted weight yarn. Adjust the number of rounds to achieve your desired hat length. Consider adding a ribbed brim for extra warmth and a snug fit.
Experiment with different color combinations and pom-poms to personalize your hat. The cluster stitch provides a fantastic canvas for showcasing your creativity!
Advanced Techniques & Design Considerations
Unlock creative potential! Explore color changes within clusters, combine the stitch with others, and remember to block your finished project for optimal drape.
Color Changes within Clusters
Adding vibrant dimension to your cluster stitch projects is easily achieved with strategic color changes! To implement this technique, begin your cluster stitch as usual, but introduce a new yarn color mid-cluster. Specifically, complete the first half double crochet (hdc) of the cluster with your initial color.
Then, before completing the chain 1 and subsequent hdc in the same stitch, yarn over with your new color. Continue the remainder of the cluster – the chain 1 and final hdc – using this new hue. This creates a beautiful, gradual transition within each cluster itself.
For a more dramatic effect, change colors for each component of the cluster (first hdc, chain 1, second hdc). Experiment with contrasting or complementary colors to highlight the textured nature of the stitch. Remember to carry yarns loosely to avoid puckering, or weave in ends securely as you go!
Combining Cluster Stitch with Other Stitches
Elevate your crochet designs by seamlessly integrating cluster stitches with complementary techniques! The textured nature of cluster stitches pairs wonderfully with smoother stitch patterns, creating visual interest and depth. Consider alternating rows of cluster stitches with rows of single crochet or half double crochet for a balanced fabric.
For a more intricate look, incorporate sections of shell stitch or puff stitch alongside the clusters. These stitches add further texture and dimension. When combining stitches, maintain consistent tension to ensure a uniform fabric.
Experiment with using cluster stitches as borders or accents on projects primarily worked in other stitches. This adds a touch of elegance and highlights the unique texture. Don’t be afraid to explore – the possibilities are endless when blending different crochet stitches!
Blocking Your Finished Cluster Stitch Project
Blocking is crucial for showcasing the full potential of your cluster stitch work! This process evens out stitches, enhances the texture, and gives your project a professional finish. Gently wet or steam block your completed piece, taking care not to distort the clusters.
Pin the project to a blocking board, shaping it to the desired dimensions. Pay attention to maintaining the integrity of the cluster stitch pattern while pinning. Allow the project to dry completely – this may take several hours or even overnight.
Blocking opens up the stitches, revealing the beautiful texture created by the clusters. It also helps to correct any unevenness that may have occurred during crocheting. A beautifully blocked cluster stitch project will drape wonderfully and look polished!